I know we all have that one tote bag collecting dust in the back of our closet that we bought thinking it would match everything and have years of use. Well, today you can give new life to that plain old tote bag with this easy fashion DIY. This project for a DIY Stitched Leather Tote Bag will save that bag and show your personality and style! With a simple template and some embroidery thread, you can customize your own perfect tote bag in minutes. Making personalized items like this one is a great way to get away with cute, crafty gifts for your friends too! Matching bags for your besties? Perfect!
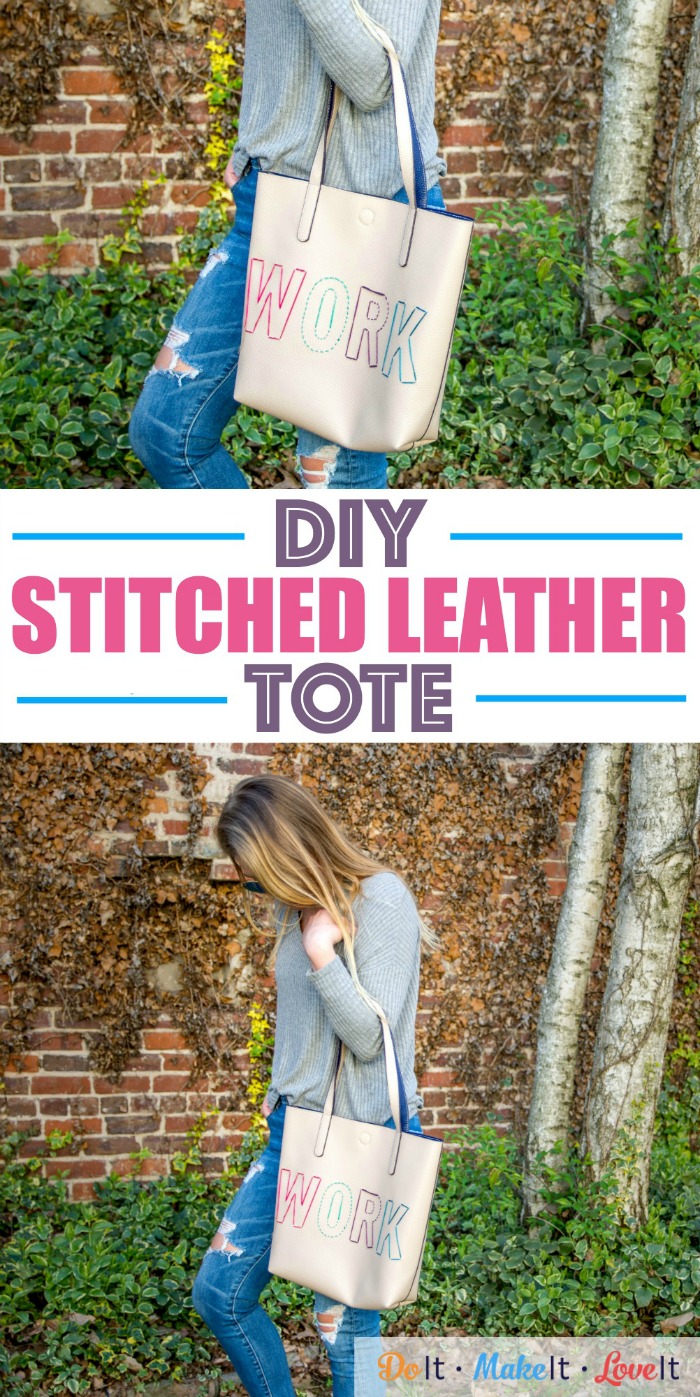
DIY Stitched Leather Tote Bag
Here is what you will need to make one:
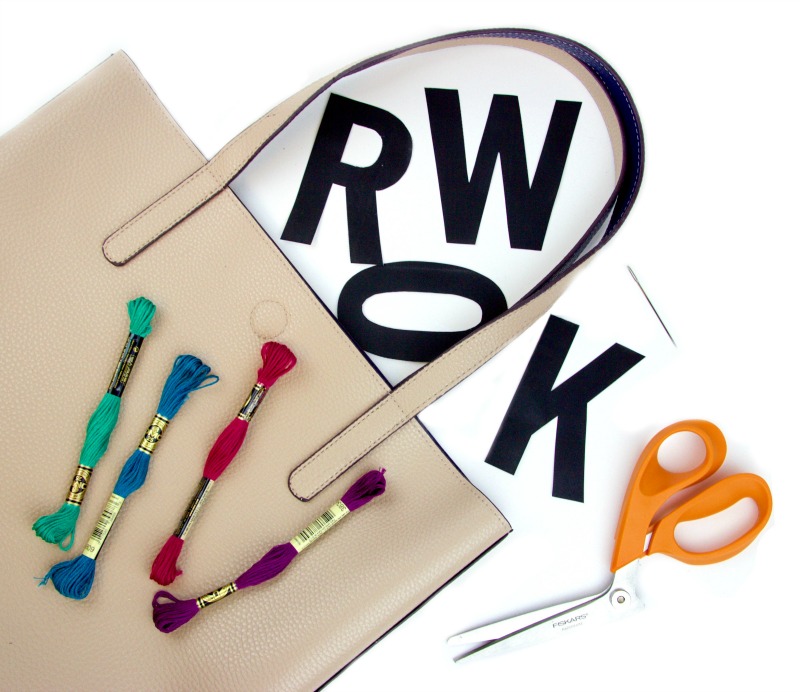
Supplies
- a leather or pleather tote bag
- “work” printable
- scissors
- embroidery floss in 4 colors
- large needle

Step One: Cut out the letters from the printable and arrange them on the front side of the tote bag. You may want to use some removable adhesive to keep them attached during the stitching process.
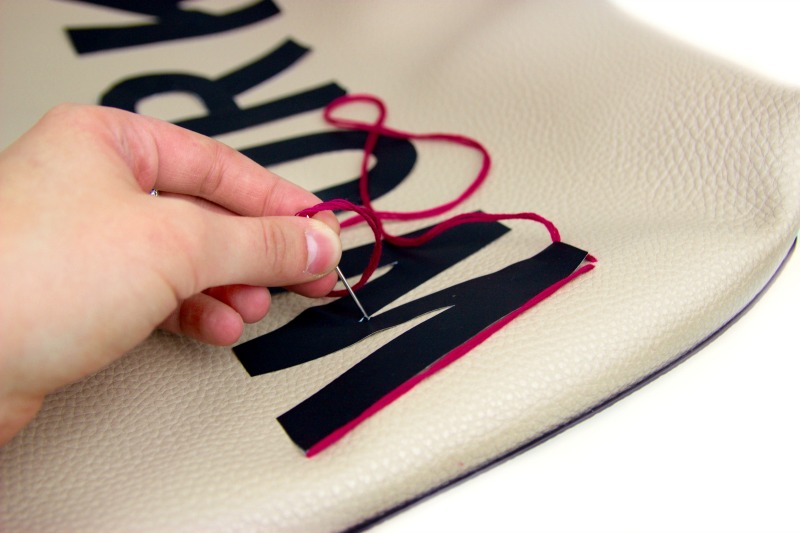
Step Two: Thread the large needle with the first color of embroidery floss. Pick a place to start on the W and do your first stitch from the inside of the bag to the outside. I chose to use the longest possible stitches that still maintained the shape of the letter. You could also do a bunch of short stitches- it is up to you!
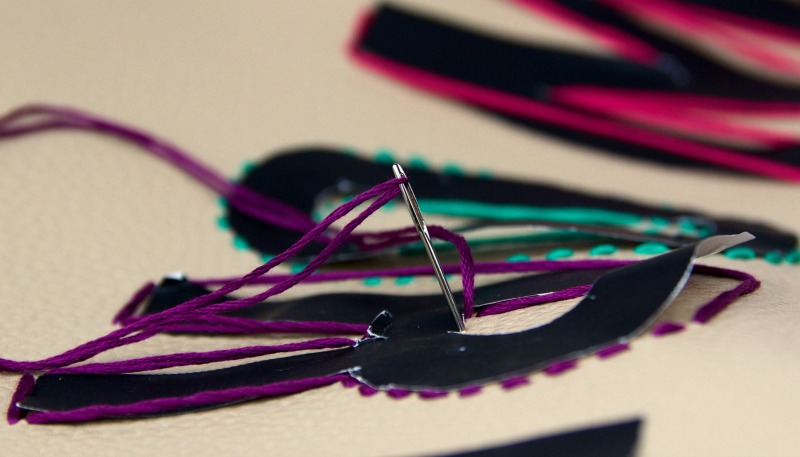
Step Three: Continue stitching around each letter using a different color embroidery floss for each one. Be sure to start and end with knots on the inside of the bag.
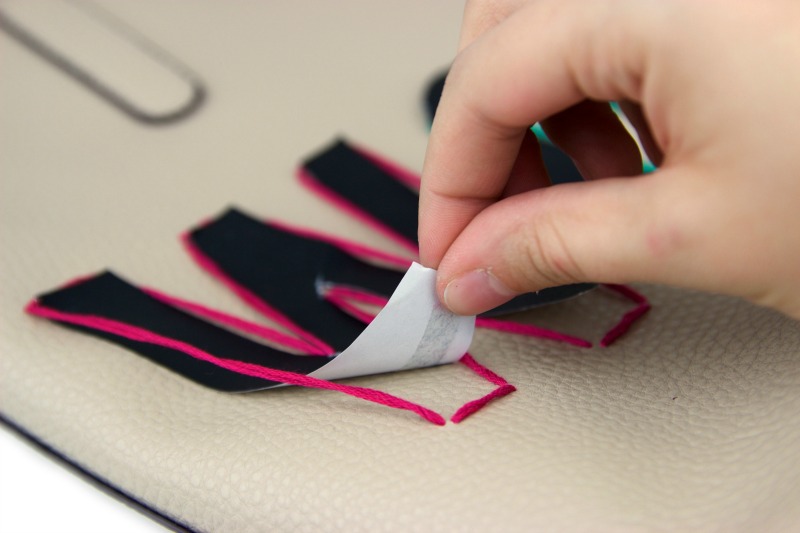
Step Four: Remove the paper letter cutouts to reveal your finished design.
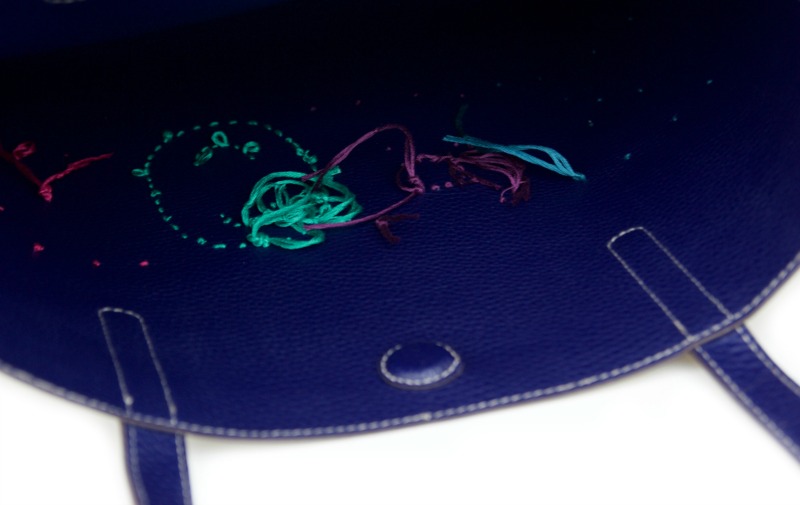
Step Five: Cut any excess embroidery floss off from inside the bag.
And you’re done! See how easy that was. We totally don’t blame you if you end up making 5 more of these ASAP. Just write out your words in a doc and print them out or find good examples online! It’s so easy.
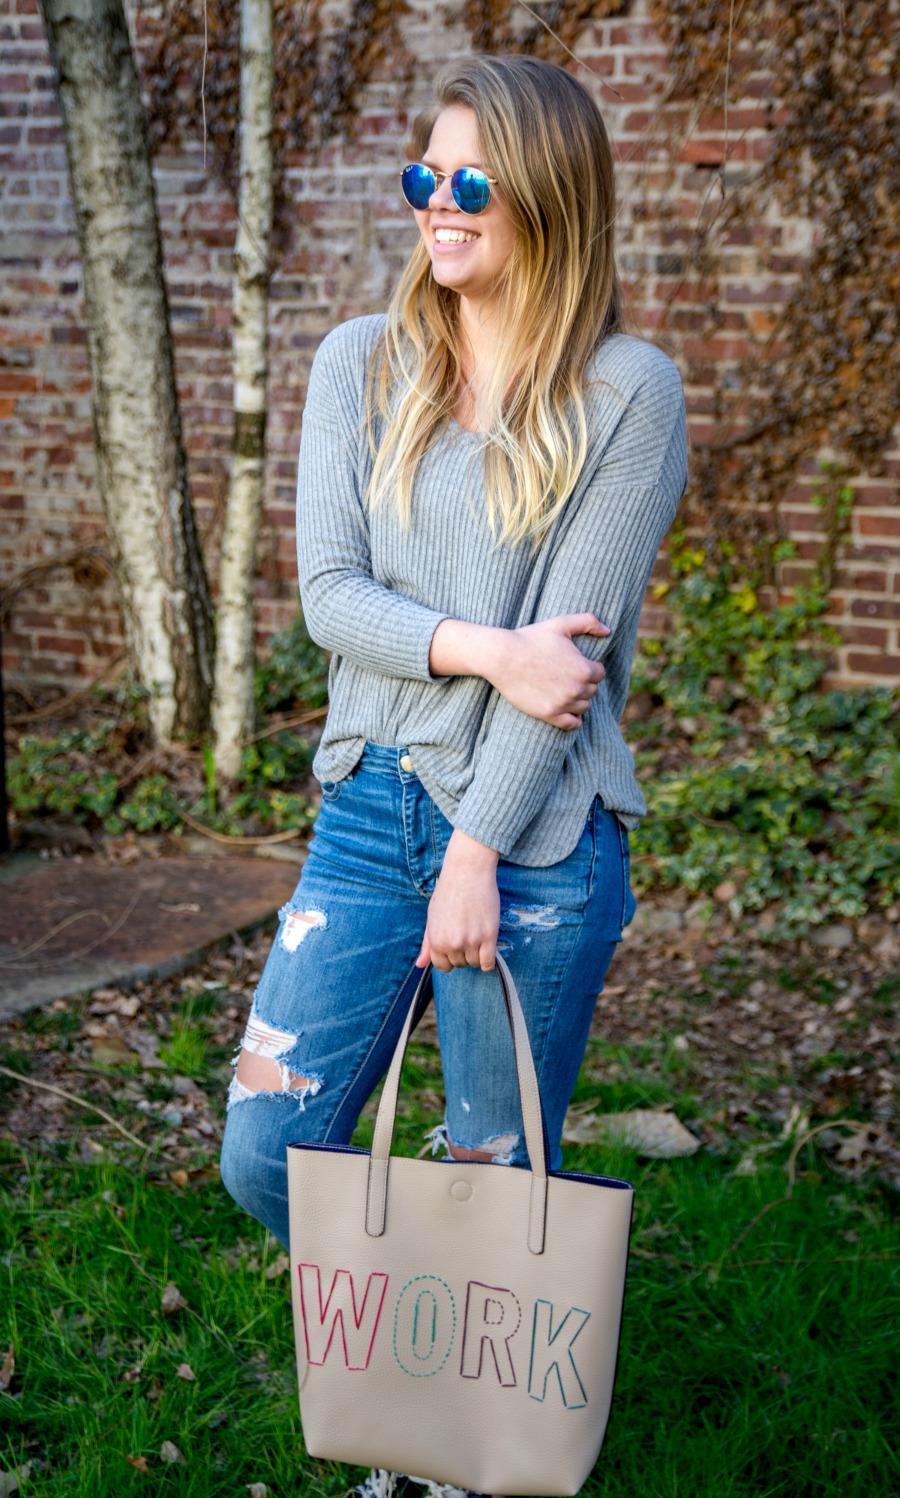
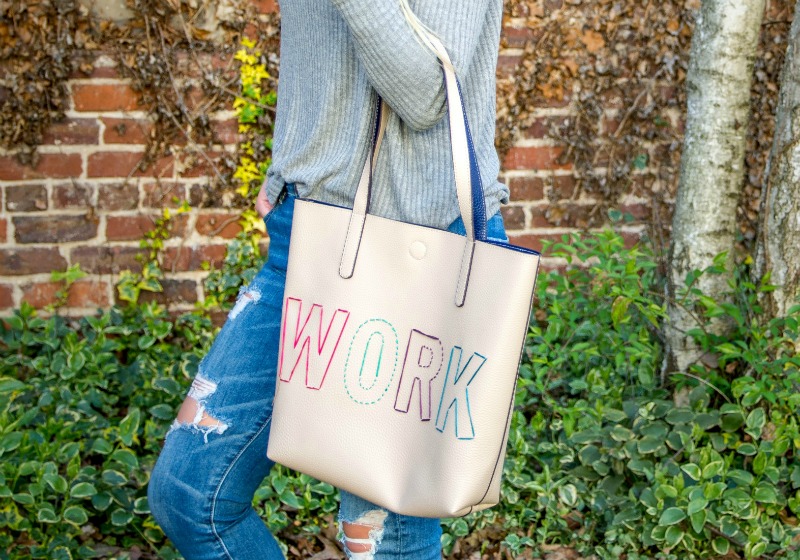
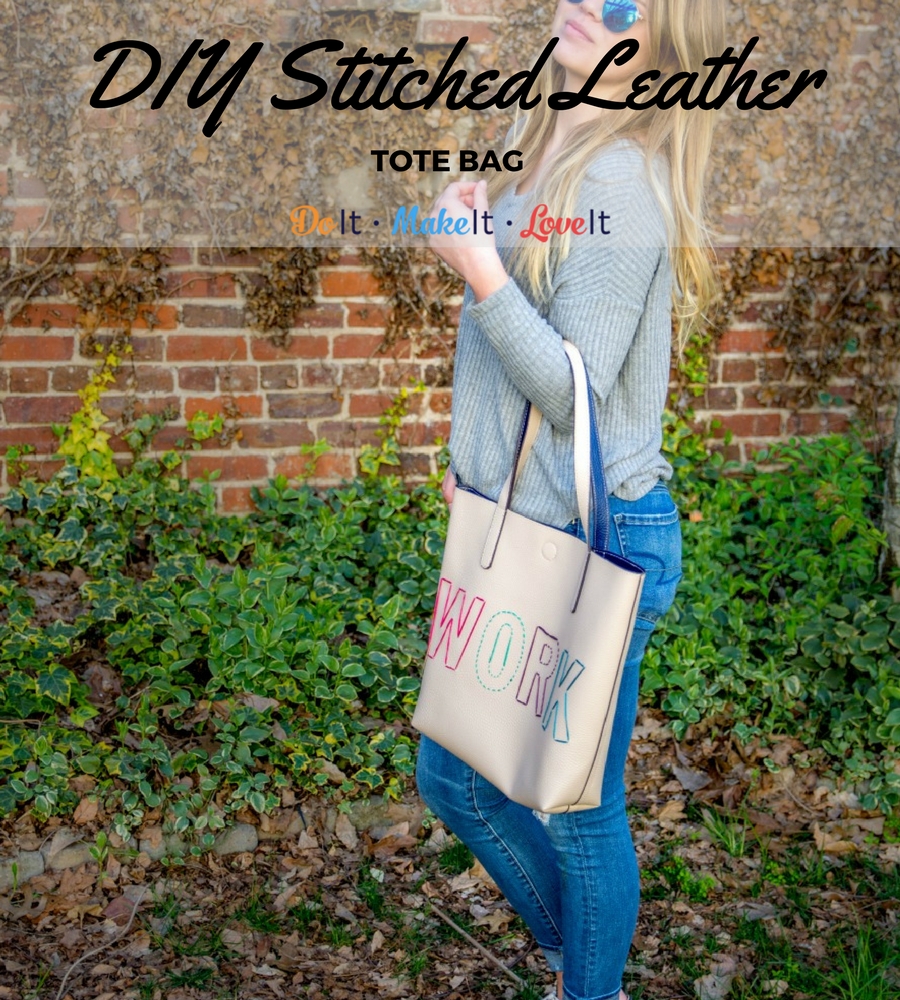
We know you’re digging out your old bag right now. You won’t believe how much of a difference this simple embroidery DIY makes on your tired tote bag. You’re sure to get tons of compliments on your amazing DIY abilities. We hope you enjoyed this tutorial and when you finish up your first bag, share your pictures on our Facebook page!

