This post contains some affiliate links for your convenience. Click here to read our full disclosure policy.
Over 215,000 people bought an Instant Pot on Amazon’s Prime Day back in November of 2016. Were you one of them?
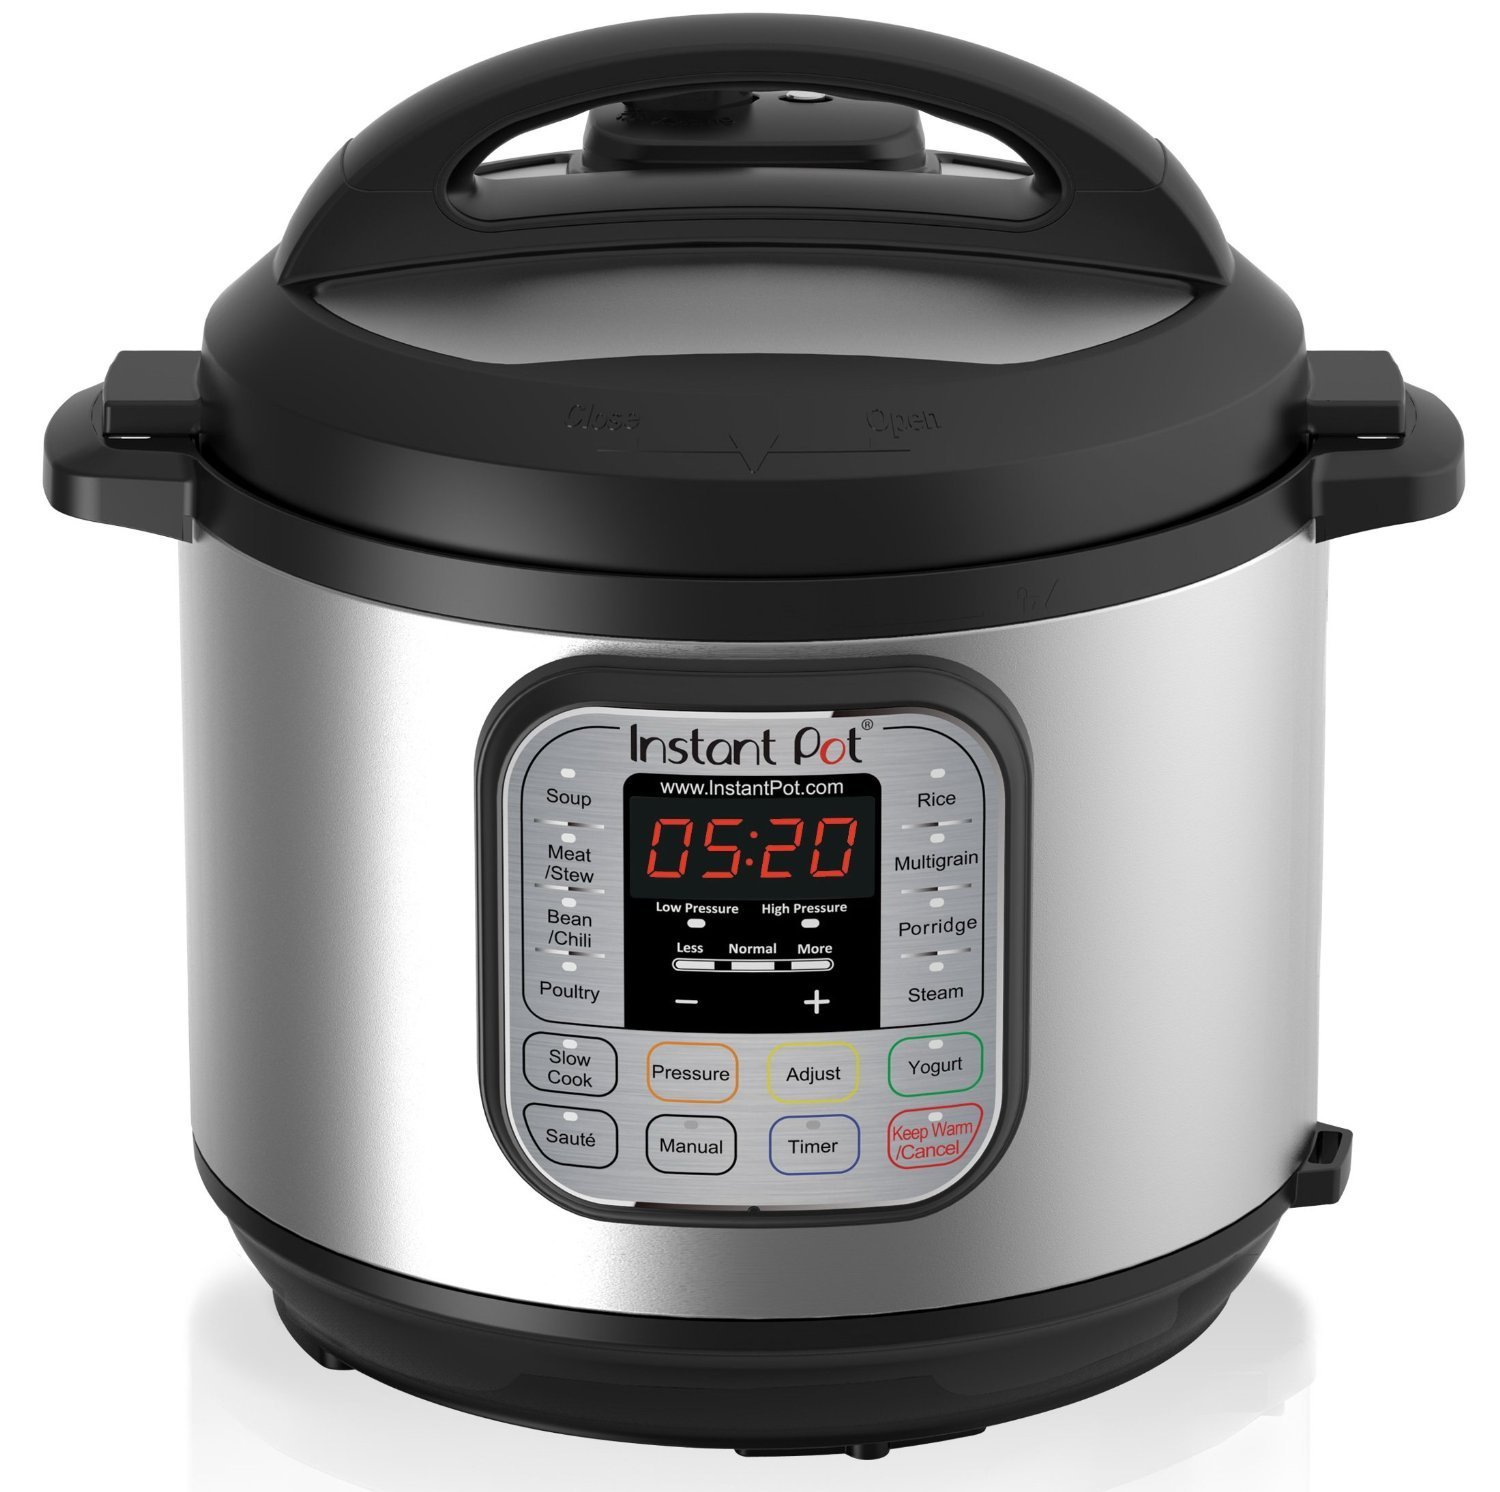
What’s an Instant Pot?
I was and several people I know did too. The thing I’ve noticed is that, while there are lots of folks gushing about their Instant Pot, there is very little instruction when it comes to actually using it. The box includes very little help. Especially if you’ve never used a pressure cooker before or are a new cook. I’ve seen several comments from people who bought one but who are afraid to try it.
 If you’ve been watching videos and reading about the Instant Pot
 on the web you’ll find lots of information about how to put the lid in the handle so it stands up and about the tri-ply stainless steel disk on the bottom for more even cooking and maybe even about the removable silicone ring, but next to nothing about how to actually USE it.
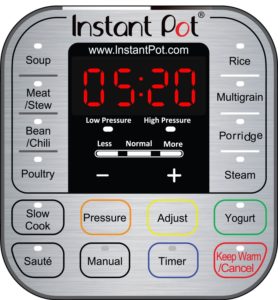
What are all the buttons on the Instant Pot?
You might want to highlight and print out this bit to keep handy.
- Sauté function (lower left on the panel)– use the Sauté button to sauté in the stainless steel pressure cooking pot with the lid off. You can also press Sauté and the Adjust button once (more) for browning. Press Sauté and the Adjust button twice (less) to simmer.
- Keep Warm/Cancel Button (Lower right on the panel) – Use this button to cancel a function or turn off your pressure cooker. On the Smart mode, you can use the Adjust button to reduce or increase the keep warm temperature from 145° (normal) to 133° (less) and 167° (more).
- Manual button is an all-purpose button. Use the manual button if a recipe says to pressure cook on high pressure for a specific number of minutes. Use the “+” and “-” buttons to increase or decrease the cooking time.
- Soup – high pressure 30 minute cook time. Press soup and the Adjust button once (more) to cook for 40 minutes. Press soup and the Adjust button twice (less) to cook for 20.
- Meat/Stew – high pressure 35 minute cook time. Adjusted to more – 45 minute cook time; adjusted to less – 20 minute cook time.
- Bean/Chili – high pressure 30 minute cook time. Adjusted to more – 40 minute cook time; adjusted to less – 25 minute cook time.
- Poultry – high pressure 15 minute cook time. Adjusted to more – 30 minute cook time; adjusted to less – 5 minute cook time.
- Rice – cooks on low pressure and is the only fully automatic program. It’s for cooking white rices and will adjust the cooking time depending on the amount of water and rice in the cooking pot.
- Multi-grain – high pressure 40 minute cook time. Adjusted to less – 20 minutes cook time. Adjusted to more – 45 minutes warm water soaking time and 60 minutes pressure cooking time.
- Porridge – high pressure 20 minute cook time. Adjusted to more – 30 minute cook time; adjusted to less 15 – a minute cook time.
- Steam – high pressure 10 minute cook time. Adjusted to more – 15 minute cook time; adjusted to less – 3 minute cook time. Use this function with a rack or steamer basket because it heats at full power continuously while it’s coming to pressure and you don’t want food in direct contact with the bottom of the pressure cooking pot. Once it reaches pressure, the steam button regulates pressure by cycling on and off similar to the other pressure buttons.
Some things you should know about the Instant Pot:
- Cook times for the Instant Pot sound really fast, but you have to remember that it takes about 10 to 13 minutes to get up to pressure (less if you’re using less water) and another 15 to 20 minutes to release the pressure after the cooking has finished.
- The Instant Pot cooks at 11.5 PSI, which means that it takes longer to cook than a stovetop pressure cooker. If you’re using a recipe designed for a stove top pressure cooker, add about 7 to 15 percent more cooking time. If you’re cooking at high altitude, you’ll need to add even more time.
- Don’t forget to close the vent after adding food and setting the time. Otherwise, you’ll hear hissing after a few minutes. If this happens simply close the vent. An open vent won’t allow the food to cook properly, so always try to ensure the vent is closed when you make each meal.
- Some cooks have reported that heating up the pot by using the sauté helps the InstantPot come to pressure quicker. For you truly impatient types.
- If you cook foods with strong flavors – fish or garlic – you may wish to purchase an additional seal for other foods like yogurt. You may also wish to store the InstantPot with the lid on upside down so that the seal will air out and not hold odors.
- The InstantPot needs a minimum of 1 cup of water or liquid to reach and maintain pressure. The more water – the longer to reach pressure.
- Heed the MAX FILL line on the side of the stainless steel pot to avoid messes.
- Natural Pressure Release allows the pot to naturally release pressure on it’s own after the food is done. It’s a form of release that is often used with pasta, soup (including lentils), beans, and meats – or a pot that is filled up to the max line. If a recipe calls for 5 minutes NPR, you will want to wait until the pot says L0:05, then you can release the pressure after that by opening the vent.Quick Release allows you to manually release the pressure on your meal by turning the vent valve at the top to open. You can use this for veggies, or for non-starchy foods. Always use tongs or a fork/spoon to avoid turning that valve with your hands when you release the pressure.
- The Instant Pot is not to be used for pressure canning.
- The Silicone Sealing Ring typically needs to be replaced every 18-24 months. It is always a good idea to keep an extra one around.
That is a good start. Some dos, don’ts and how-to’s regarding your new Instant Pot. I sure hope you find it helpful.


