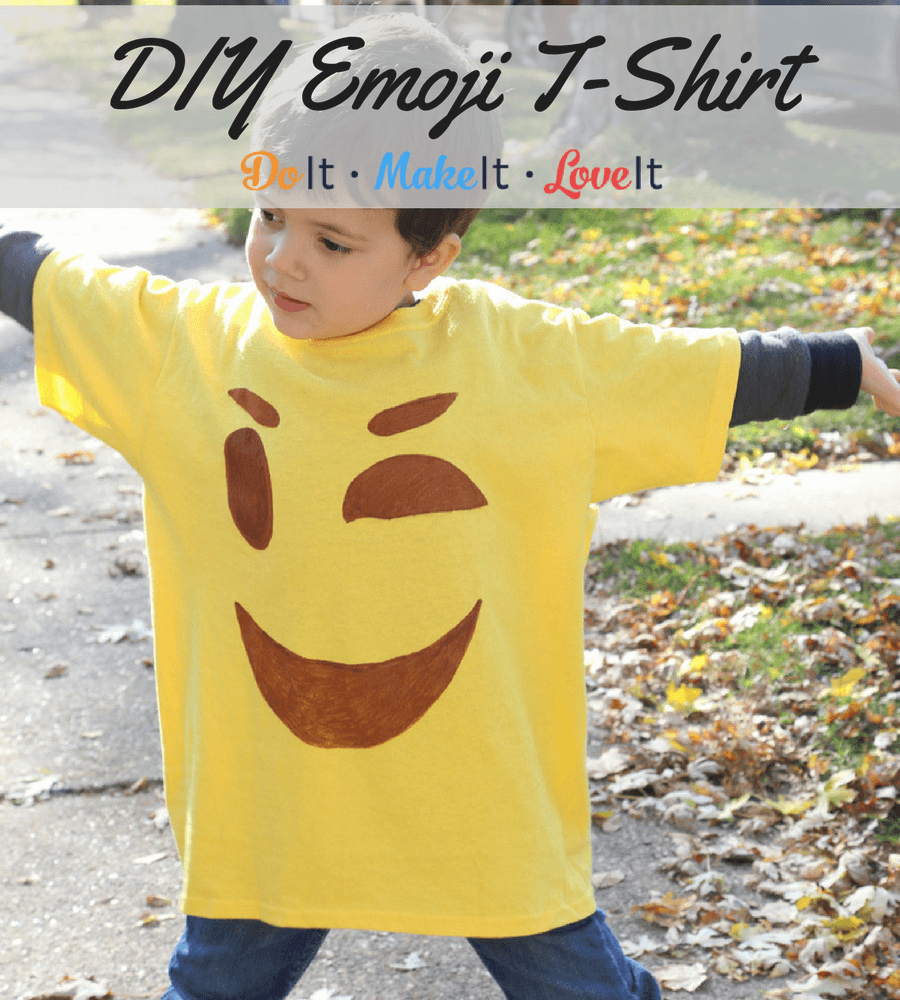
Did you go see the Emoji Movie when it came out? Do you speak in symbols? SO DO WE!! So obviously an emoji t-shirt is a must-have. I love this project because it combined something that my littlest one and I both love (emojis) and it was a simple, no-mess activity we could do together on a rainy day. We picked out bright yellow t-shirts from the craft store to make this DIY 15-minute emoji t-shirt, but you can pick out any color and get more intricate with your designs. You know, like a brown t-shirt with big white eyes 😉 Scroll down to get the full instructions to make your own!

15 Minute DIY Emoji T-Shirt

Materials List
- Plain cotton T-shirt, pre-washed
- Marvy Uchida Fabric Markers
- Printed Emoji Image, sized for T-shirt
- Cardboard, cut to fit inside T-shirt
Instructions
- Place the printed emoji image inside the pre-washed T-shirt with cardboard behind the image. The cardboard will keep the ink from bleeding to the back of the shirt.
- Using the Fabric Marker, trace over the design completely.
- You can remove the image once you’ve traced, but leave the cardboard in place.
- Fill in the image completely with the Fabric Marker.
- Finished, no heat setting is required.
How easy was that? I love this project because it’s pretty mess-free, takes little time to set up, and the kids get so excited to color on clothes. Fabric markers and plain t-shirts make perfect projects for rainy days, family events, and parties. This project is just so fun and simple, definitely recommend trying it when your kids are sick of the 20 million toys they have in the house.
Which emoji did you pick? Share a picture of your t-shirts with us on our Facebook page or tag us on Instagram!


