Floral Wreath Custom Kitchen Towel
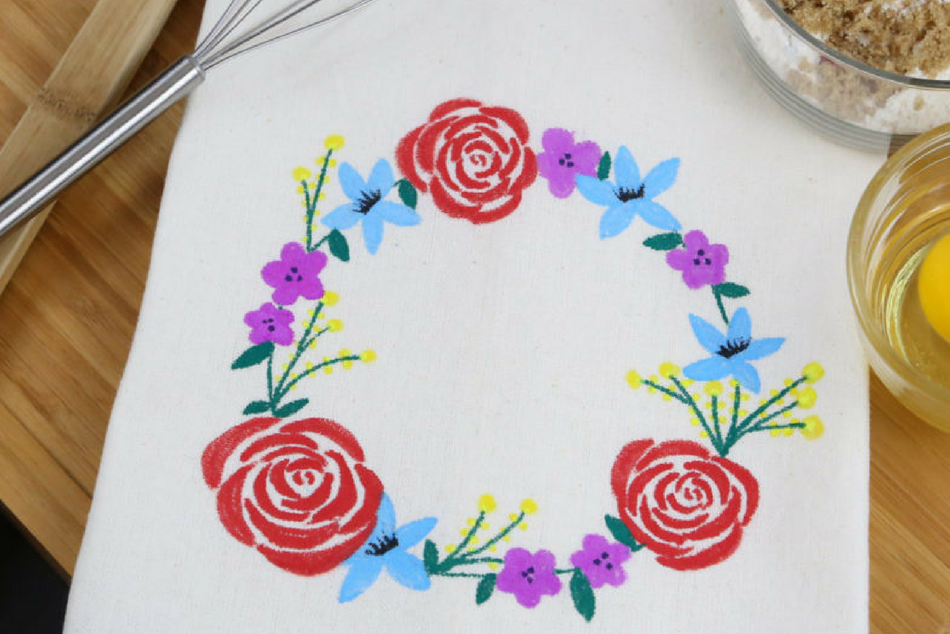
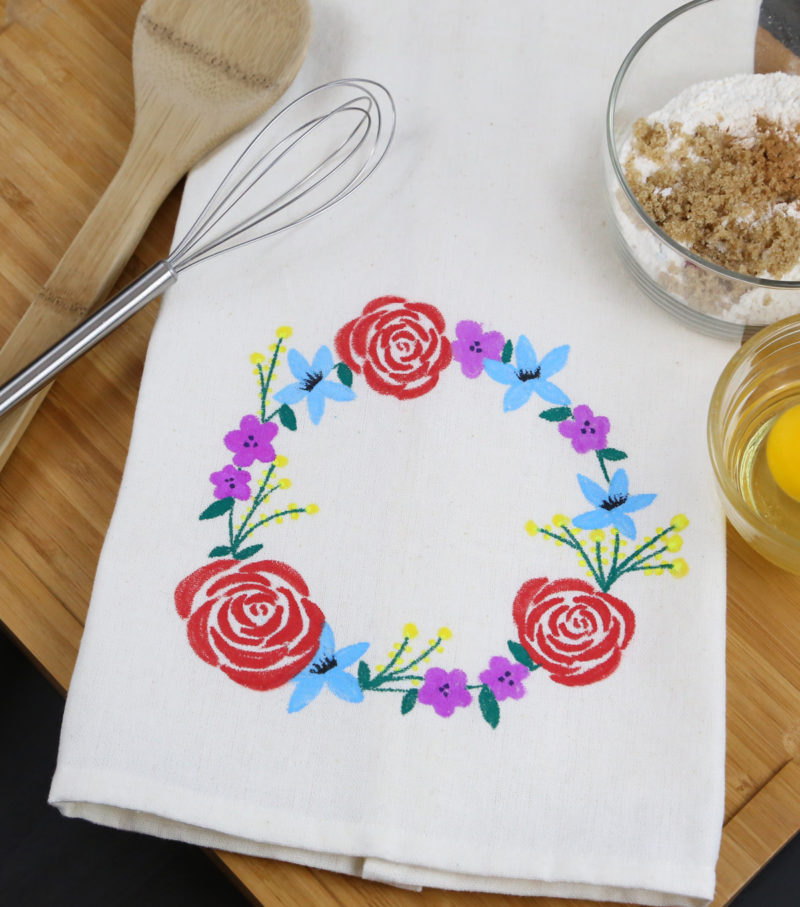
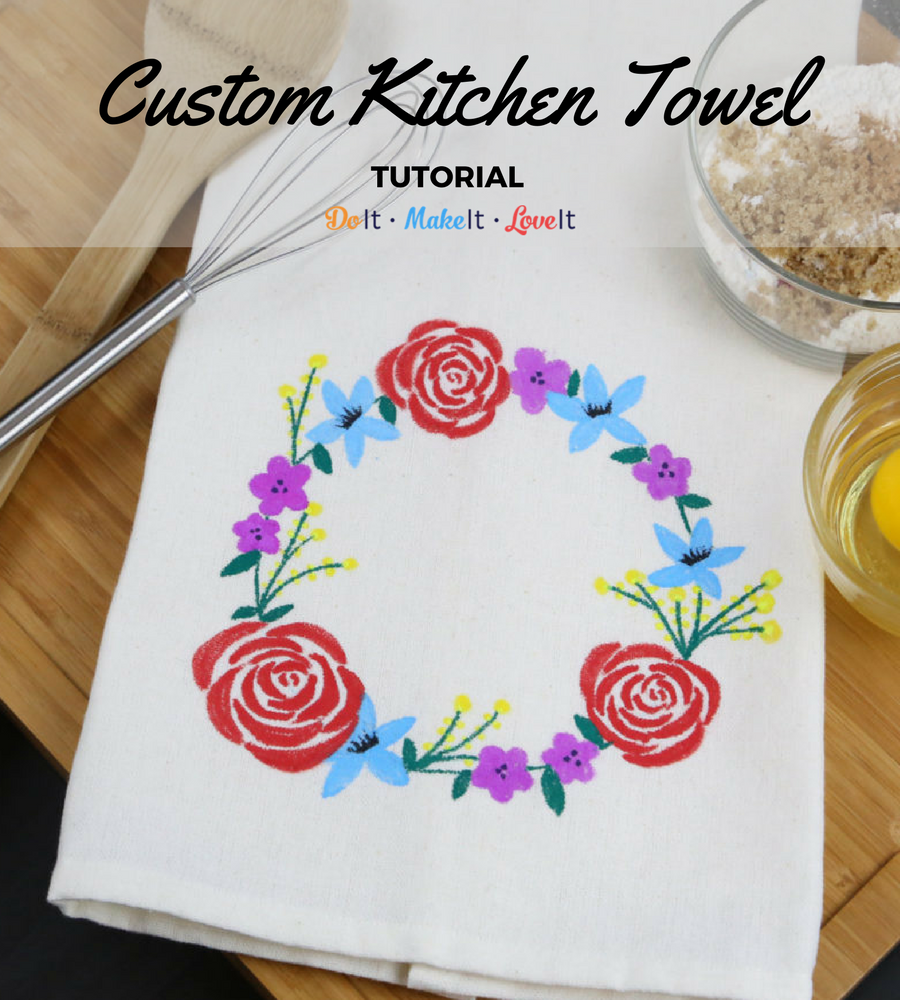
If you’re a home decor fiend who gets frustrated at not being able to find the right kitchen towel for a special event or season, this is the project for you. Create pretty floral wreath, hand drawn kitchen towel in your perfect color scheme! Custom kitchen towel not only make your home feel cozier, but no one else will have a set like yours. They’re the perfect way to start building in your own personal style to your home decor.
This tutorial we walk you through using our favorite fabric markers to create a pretty floral wreath for your kitchen towels, but you can use the same method for tote bags, napkins, and so many other fabrics. After the kitchen towel, I used the same design to make a matching placemat set for spring. Floral never fail for spring, right?

Easy Custom Kitchen Towel Tutorial
Skill Level: Beginner
Approximate Crafting Time: 1-2 Hours
Supplies & Tools:
- Cotton kitchen towel
- DecoColor Fabric Markers, various colors
- Piece of cardboard
- Pencil
DIRECTIONS:
- Pre-wash your towel. Do not use fabric softener.
- Using a bowl or template, draw a circle in the bottom, center of your towel using a pencil. This will be the guide for your wreath.
When using the DecoColor Fabric Marker, you should depress the tip of the marker on a piece of scrap paper first to get the ink started. Make sure to shake the marker well with the cap on. If you feel your marker getting dry while you are using it, you can depress again on a piece of scrap paper. While using with this marker, do not depress the tip. - Start with one type of flower and draw three of them around the circle guide. It is easiest to start with your largest flower designs.
- Add more flowers, again working in threes of the same design around the wreath.
- When you feel as though you have enough floral elements, using the green DecoColor Fabric Marker, go over any pencil lines that remain from your guide.
- Fill in around the wreath with leaves where necessary.
- Allow your towel to dry for an hour. Then heat set by placing a piece of cloth over your design and ironing it on a low setting.
We’d love to see what ideas, colors, and designs you came up with. Share your finished projects on our Facebook page so we can see how awesome they turned out!


