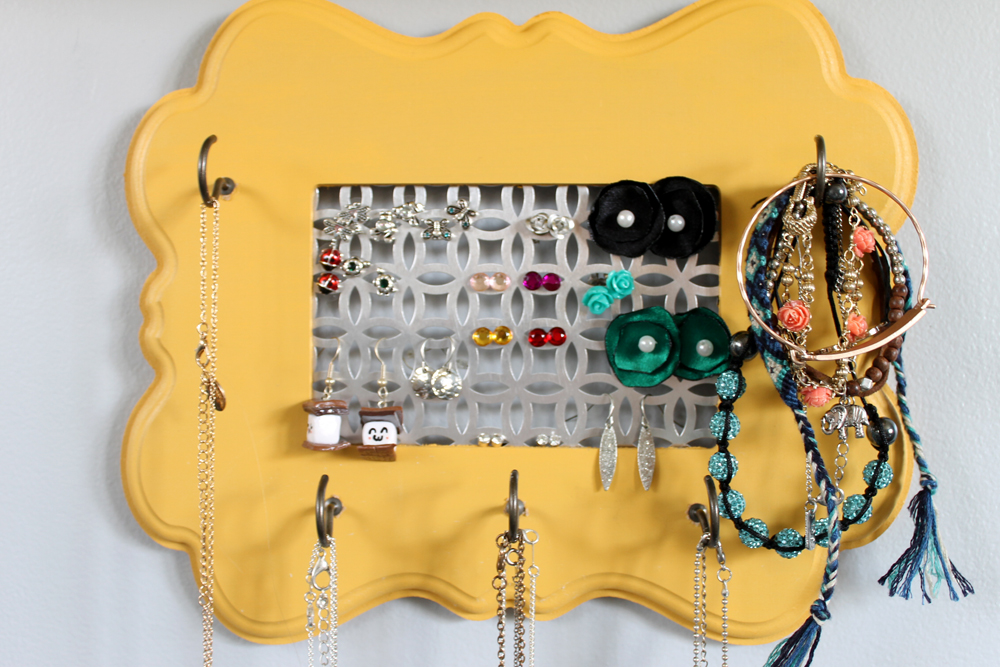
by Angie Holden | Jun 23, 2017 | Craft Tutorials
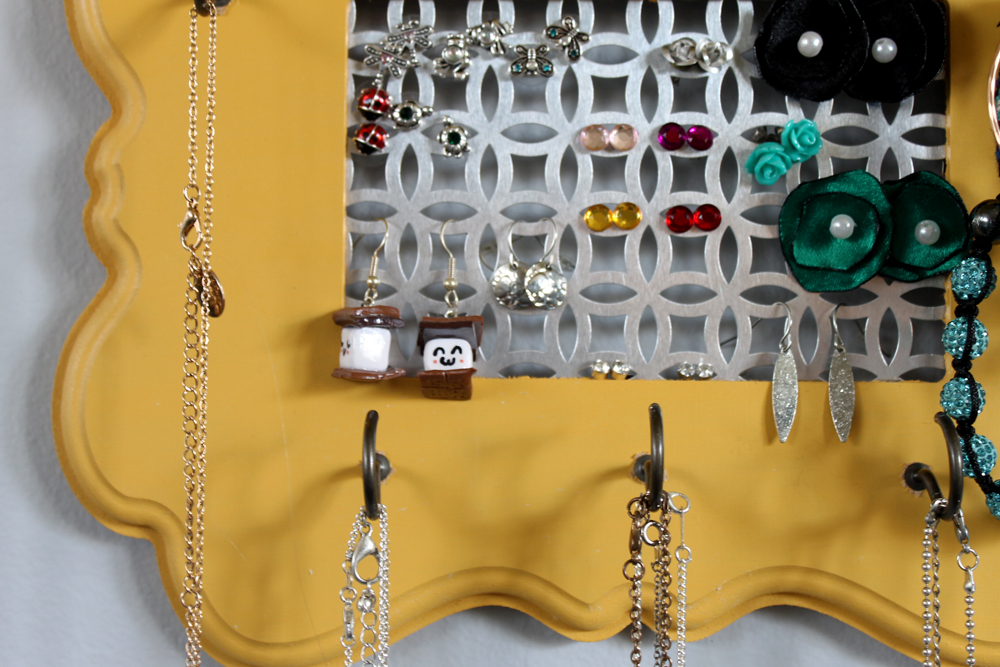
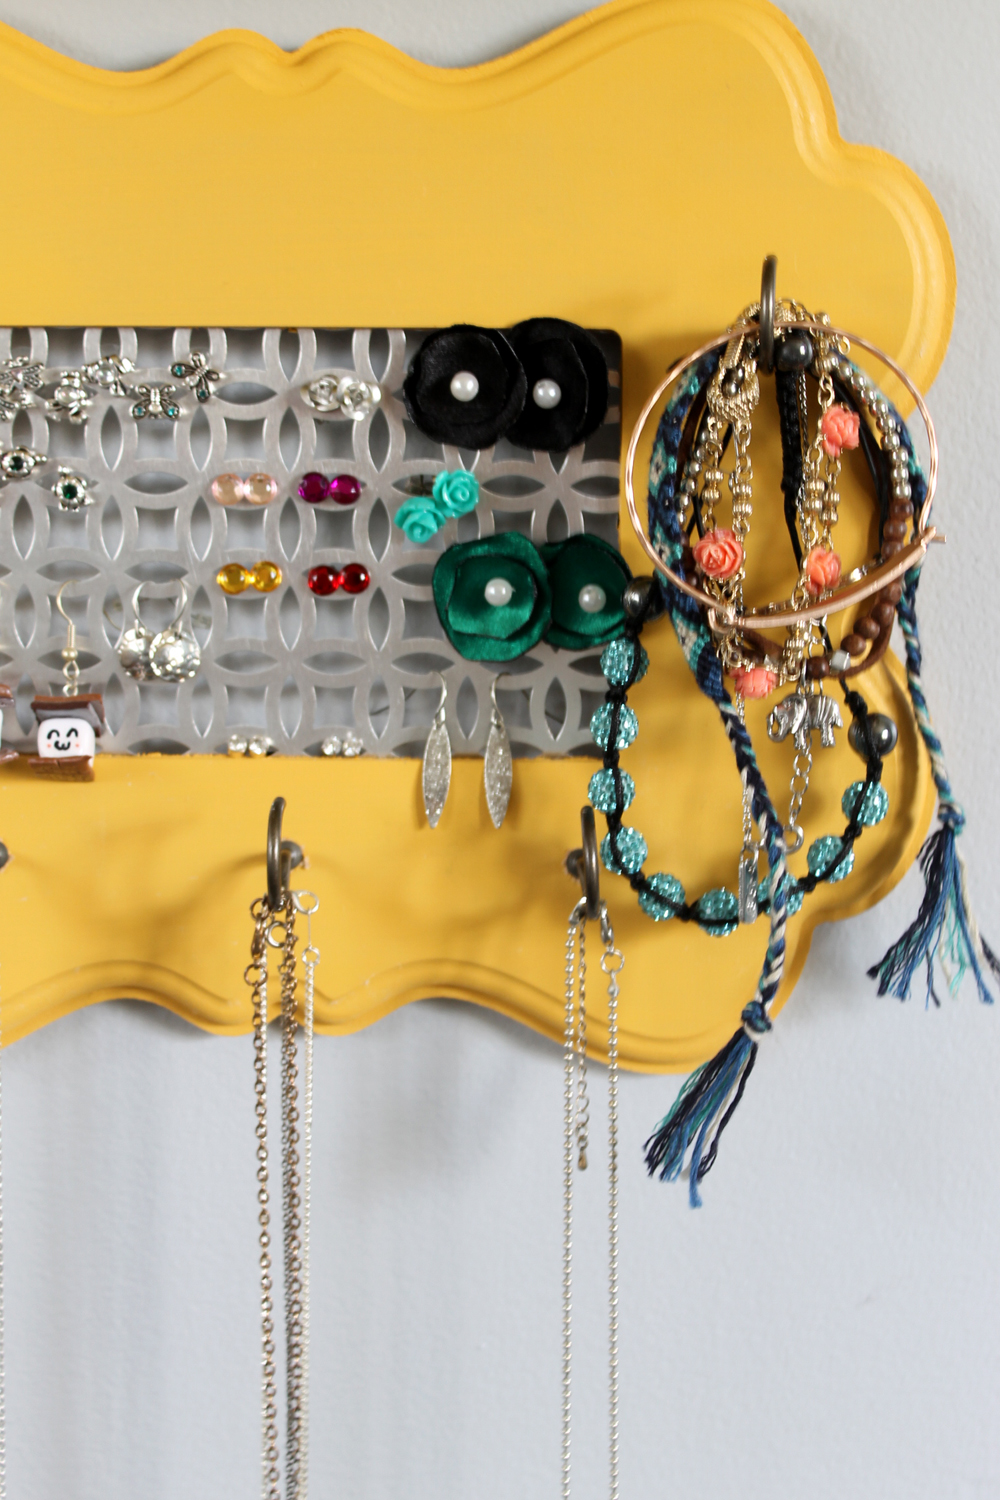
I have to admit, I’m a sucker for little trinket dishes to hold jewelry, but those things are really only good for rings or a couple of earrings. If you have a bigger collection than that or hate untangling your necklaces, then they just aren’t the best option for storing your accessories. I found a lot of cute jewelry organizer options online but I thought I could make my own. I think my DIY jewelry organizer turned out great! It’s just the right size for me, but you can always make a bigger handmade jewelry organizer by buying a bigger frame – easy! Making your own jewelry organizer means that you can customize it to your style. Pick out the perfect frame and color to compliment your bedroom.
How To Make a Simple Jewelry Organizer
This tutorial for how to make a jewelry organizer will give you something to help get all your necklaces and earrings in one place and make them easier to find all from parts you can find at your local hardware store. No more untangling!
We’ve included affiliate links to our favorite products below! Check out our disclosure and privacy policy.
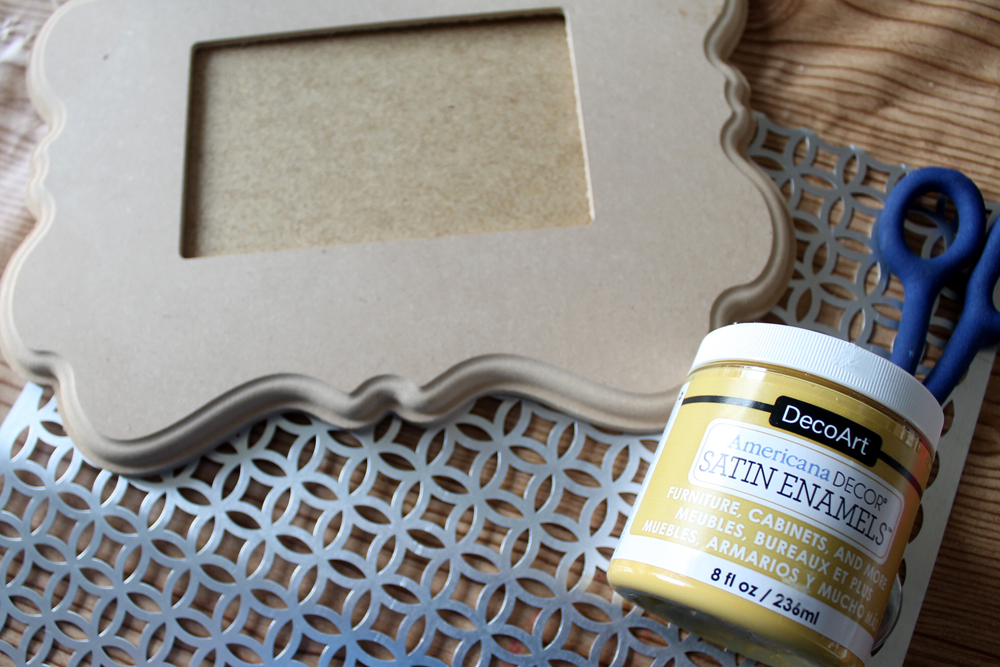
Supplies:
- Wood Frame like one of these options
- Craft Paint – we love Decoart Satin Enamels
- Perforated Metal
- Metal Shears
- Strong Adhesive – we like JB Weld for projects like this one, but any clear, strong adhesive will work!
- Paint Brush
- Hammer
- Nail
- Hooks
- Marker
Instructions
- Paint frame with a few coats of craft paint and allow to dry completely. TIP:Use extra bottles of paint to lift your frame from the work surface when painting. This will eliminate excess paint sticking to your surface.

- Trace the insert that comes with the frame onto the perforated metal with a marker.
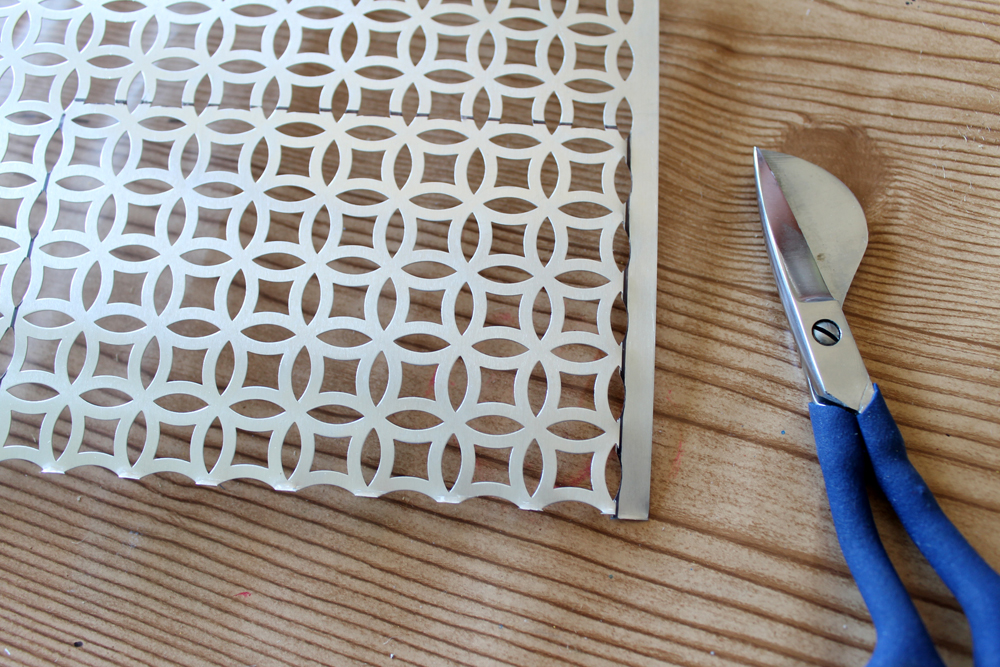
- Use metal shears to cut the metal to size.
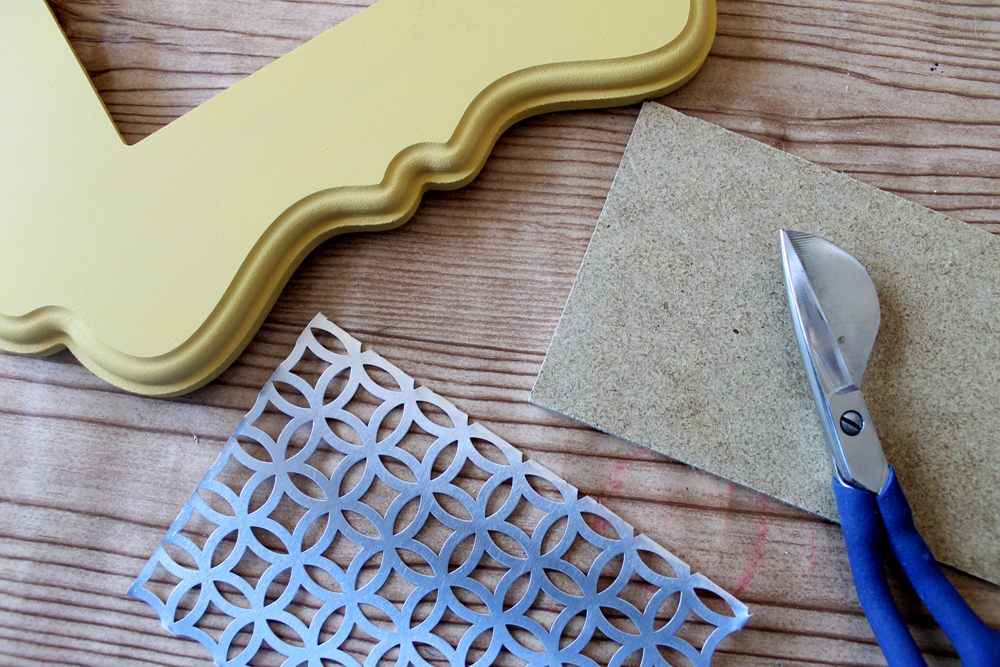
- Add metal to frame and secure with a strong adhesive around all edges as shown below. Allow to dry completely.
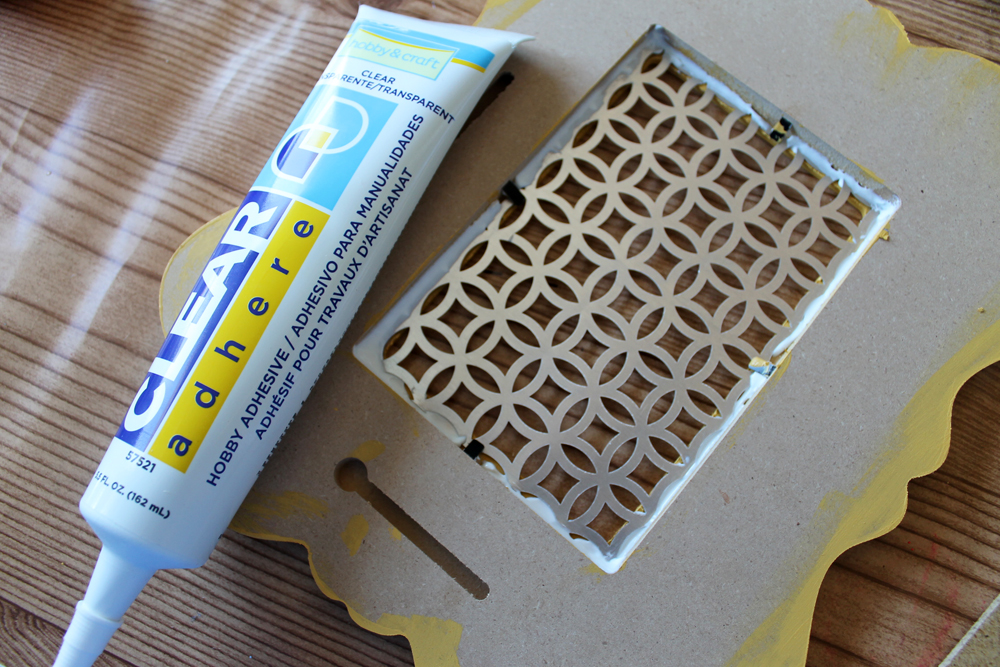
- Use a nail and hammer to start a hole anywhere a hook will be placed. The nail should be smaller than your hook.
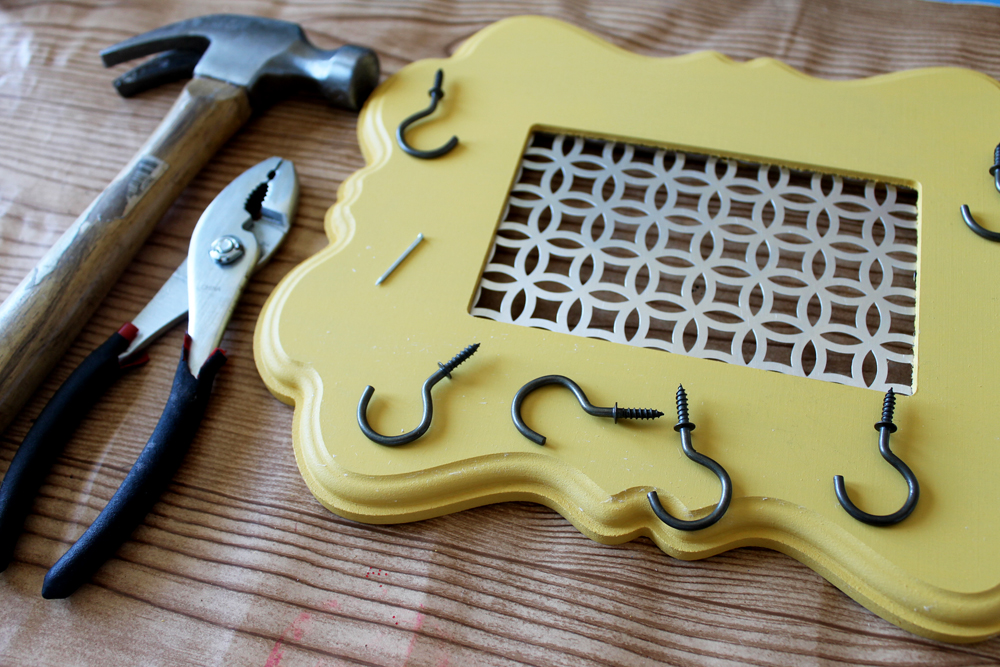
- Screw the hooks into your nail holes in any desired locations.
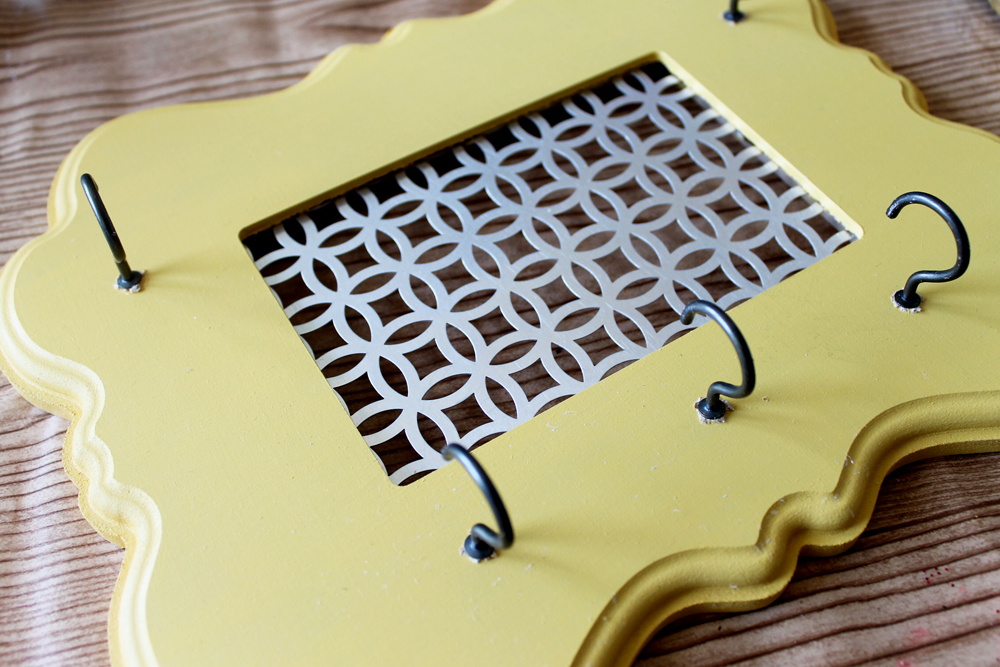
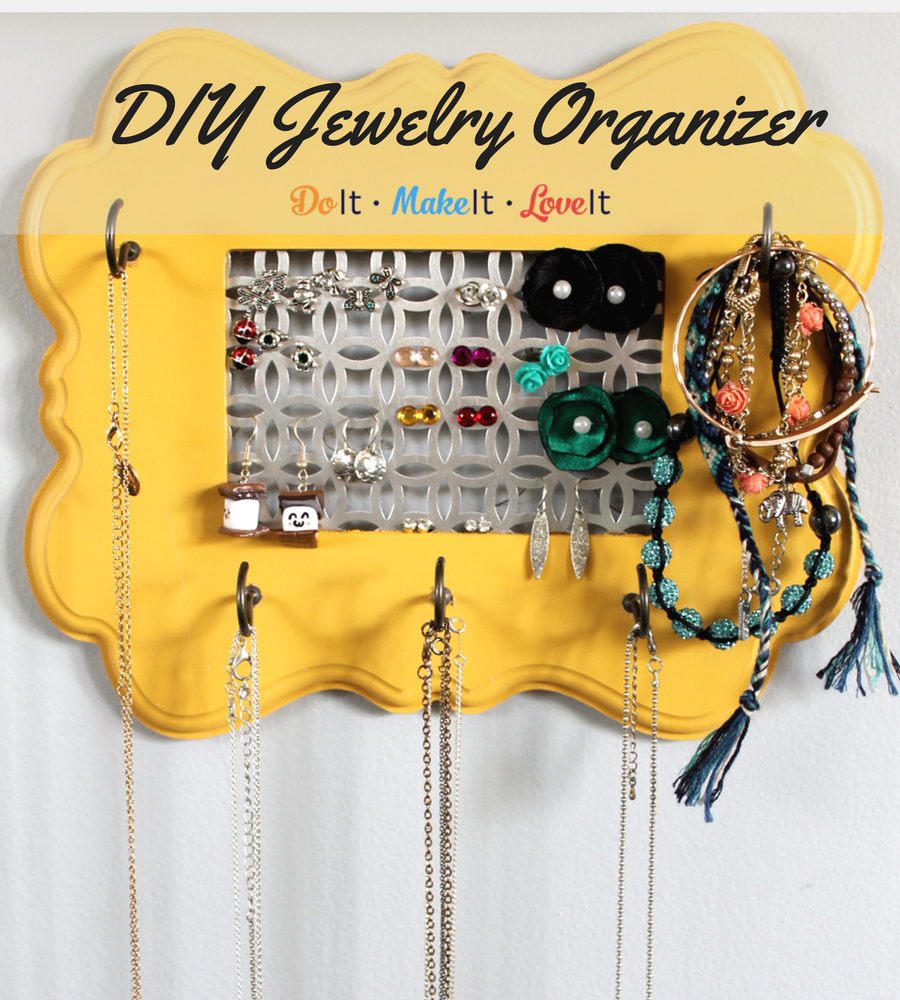
- Add a hanger to the back of your frame if it does not come with one and hang it on the wall. Add necklaces and bracelets to the hooks. Earrings go inside of the perforated metal.
Easier than you thought? Anyone who’s seen it asks me where I bought it. I have to say it’s been so nice being able to see all my favorite pieces in once place.

Did you make one? We’d love to see it! Share your photos on our Facebook page or tag us on Instagram!
by Simone Collins | May 24, 2017 | Craft Tutorials
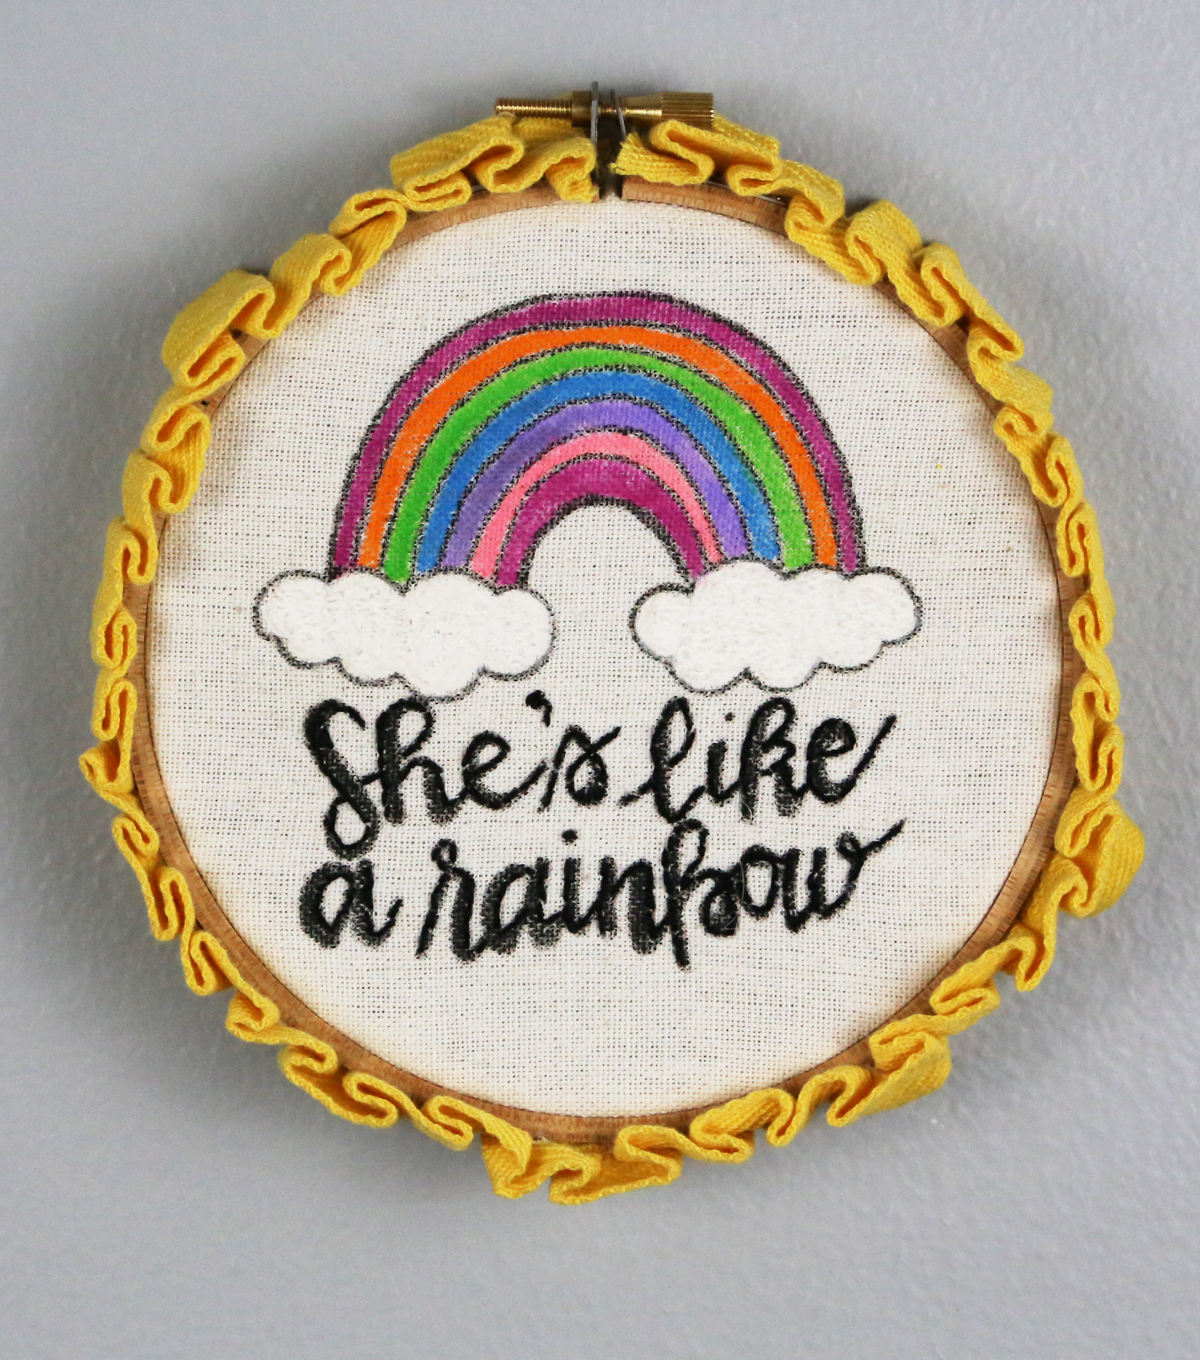
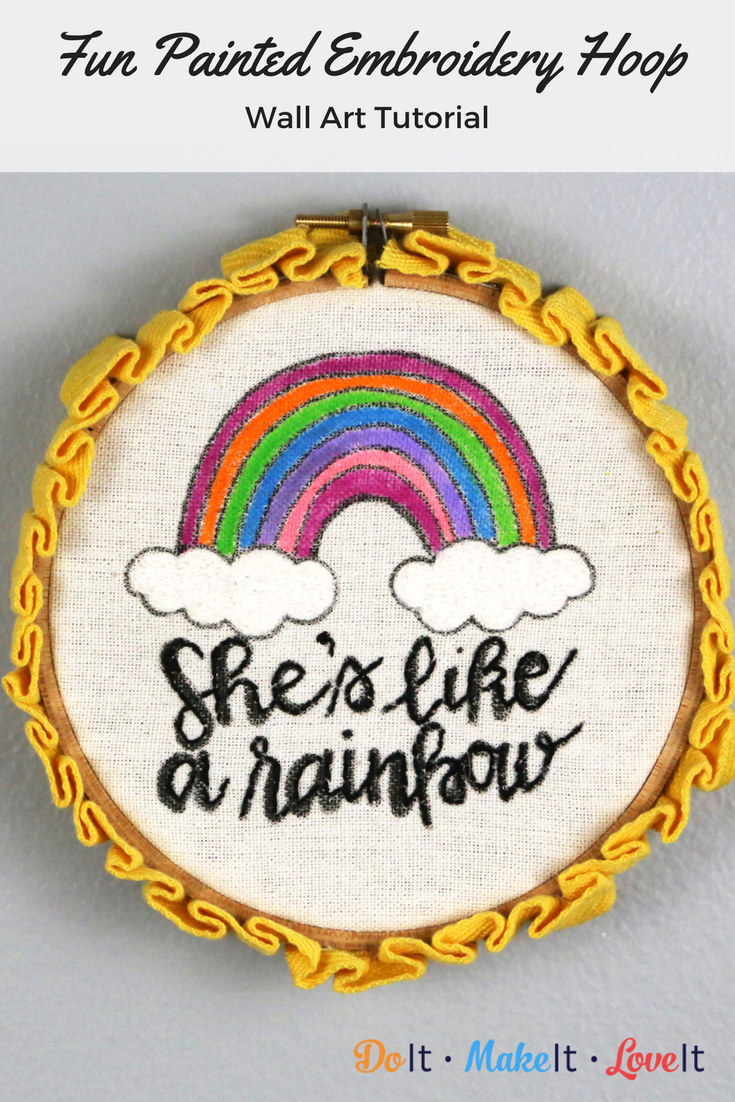
When you first start decorating your home, the first thing you notice is how empty your walls look! There’s nothing worse that having empty, echoing walls in your gorgeous home. Of course, if you haven’t been collecting wall art and paintings the whole time, starting a collection of art for your walls can add up really quickly. The best option? Making your own custom DIY wall art! Not only is it a conversation piece, but you know that you’re the only one of your friends who will have such a special and unique piece. That’s exactly where this easy painted embroidery hoop project comes in.

I love the look of embroidery hoop wall art. It adds a touch of homey, handmade charm that you don’t get with clean, white frames and cute prints. Of course, mixing the two looks is even better! This tutorial will work in creating any design you’d like simply by printing and tracing. You can make a whole series of these for different rooms or a mixed media gallery wall.
Painted Embroidery Hoop Wall Art Tutorial
We’ve included links to some of our favorite supplies to make crafting easier for you! If you use these links to shop, we’ll make a little kickback to help support our blog. You can take a look at our disclosure policy and privacy statement here.
SUPPLIES & TOOLS:
DIRECTIONS:
- Pre-wash your fabric. Do not use fabric softener.
- Cut a piece of fabric to fit your embroidery hoop. Place your fabric into your hoop so that the top of the fabric piece is concaved in the hoop.
- Draw your design on a scrap piece of paper.
- Lay your hoop over the design and trace using a pencil or Graffiti Fabric Marker. Make sure you allow each color to dry for about 5-10 minutes before applying the next.
- For the clouds, fill in the area with the Snow Marker. Heat using an Embossing Tool, be sure to move the tool around as you heat to avoid scorching.
- Write your message using a Graffiti Fabric Marker (optional).
- Using three strands of embroidery floss to match the color of your sentiment, back stitch your message, just outlining it.
- You can add some fun trim to the outside of the embroidery hoop using a hot glue gun.
- Hang and enjoy!
SO simple right? I’m a sucker for an easy project you can complete in an evening. Otherwise, my works-in-progress just start to pile up all over the house magically. Although, I guess that also means I ditch a lot of longer projects in favor of quick crafts. Oh well!
What is your embroidery hoop wall art going to say? Share your finished art with us on our Facebook page! I love seeing your creative ideas.
by Vicki O'Dell | Apr 26, 2017 | Craft Tutorials
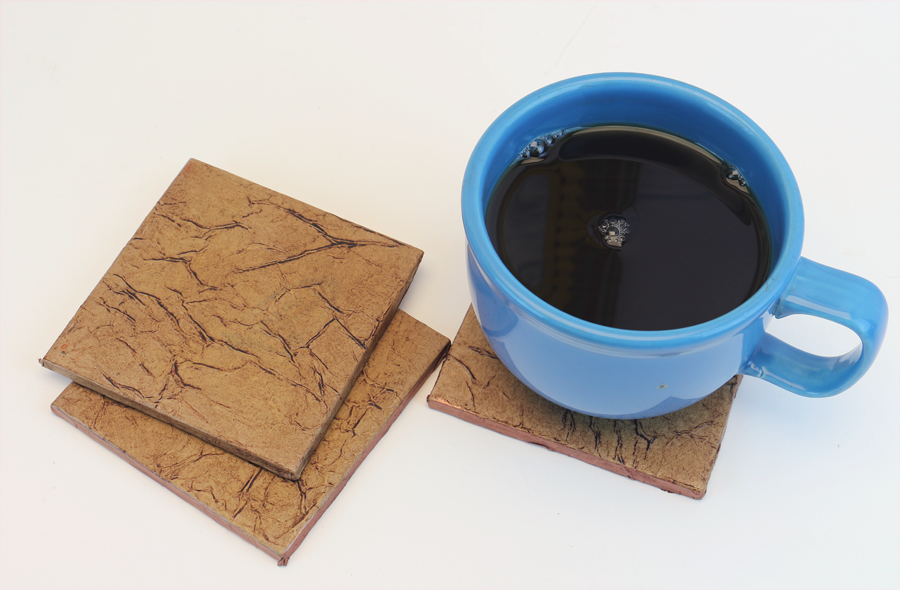
Are you struggling with styling a man cave on a budget? Just because he calls it his “man cave” doesn’t mean you want it to look like a third world country or for the furniture to look like it came straight out of a frat house. That’s why we created these Leather Look Tile Coasters for his Man Cave. To spare your furniture and possibly, your marriage. These useful and cool coasters are great DIY room decor for guys that doesn’t feel frilly or overdone. It’s such a simple projects that you might even be able to convince your man to help create this one with you!
DIY Leather Look Tile Coaster Tutorial

The supplies needed for this project are super easy to find. You probably already have many of them on hand.
We’ve included links to our favorite products too! If you purchase from these links, we’ll make a little money. Check out our disclosure and privacy policy.
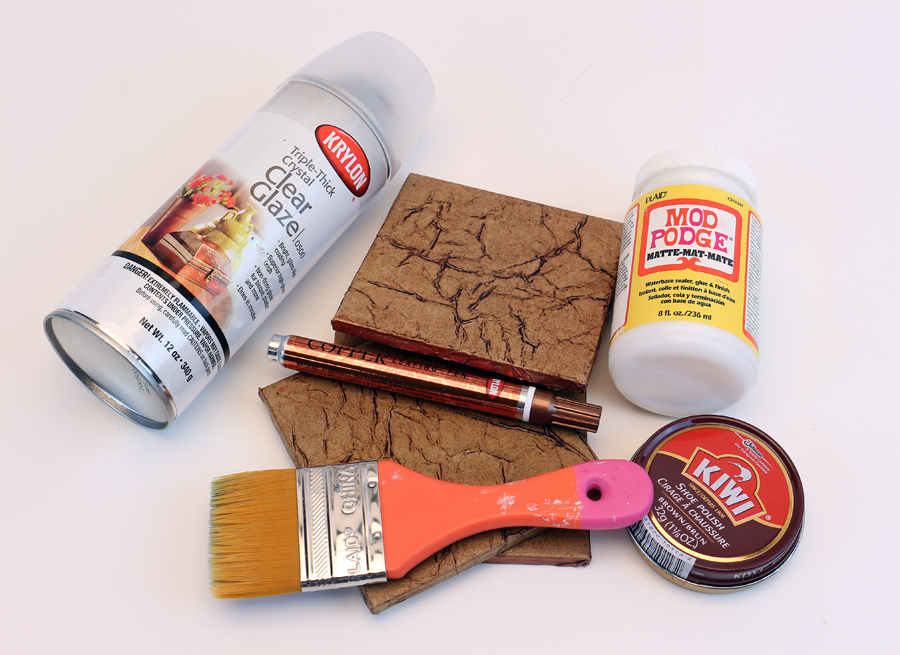
Supplies
Instructions
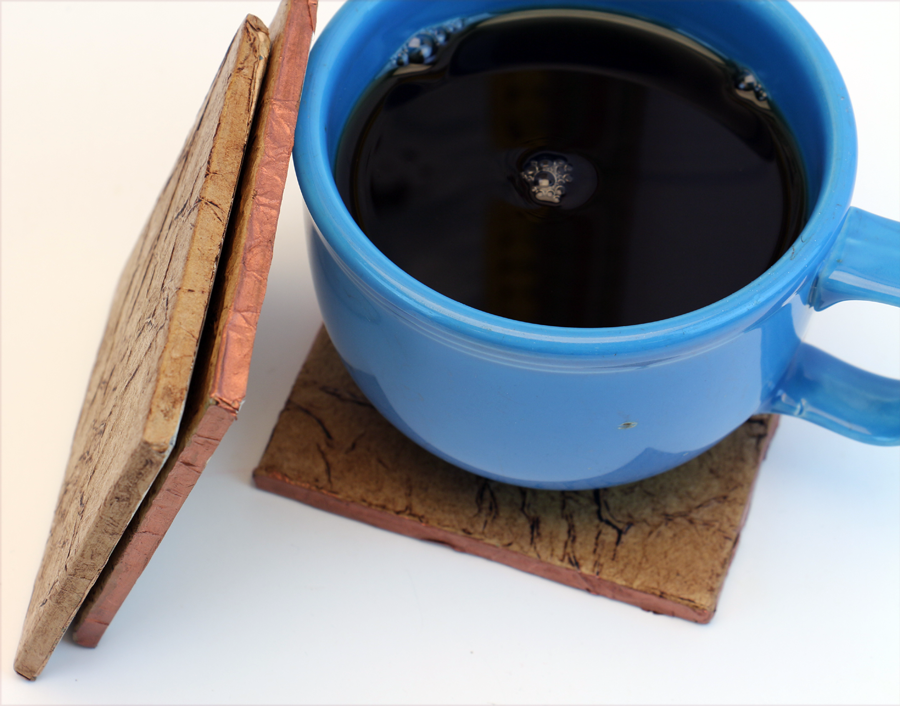
- Cut a piece of the paper bag (or craft paper) a little larger than the tile. Crumple it up and then smooth it out. Crumple and smooth again.
- Brush Mod Podge over the surface of the tile.
- Spread the paper over the tile and pat it all over to adhere to the tile. Wrinkles are great so do try to remove them – just make sure there aren’t wrinkles so large that beverages placed on the coaster are at risk of being easily knocked over.
- Fold the paper down over the sides to cover those too.
- Coat the paper with another layer of Mod Podge and let dry – preferably overnight.
- Spray the coasters with sealer. Don’t forget the sides.
- Allow to dry for 30 minutes or more.
- Run the copper leaf paint marker around the edges if desired.
- Allow the coasters to set to a hard finish for 48-72 hours before using for best results.
That’s it! Easy right? We love suggesting these as a cool DIY project for guys whenever someone is looking for something quick, easy, and useful to make as a gift. They really help finish off the look for your man cave on a budget. If you make some of these, share pictures on our Facebook page so we can see how yours turned out.
by Vicki O'Dell | Apr 10, 2017 | Craft Tutorials
It’s those small, extra touches that make family gatherings special. From a favorite dish to a sweet dessert, creating something with your family is what builds traditions. Sit down this Easter and craft something up with the family! From Easter decorations, table settings or a simple Easter wreath on the front door, even a small Easter craft project with the family will help bring some special bonding time to the holiday.
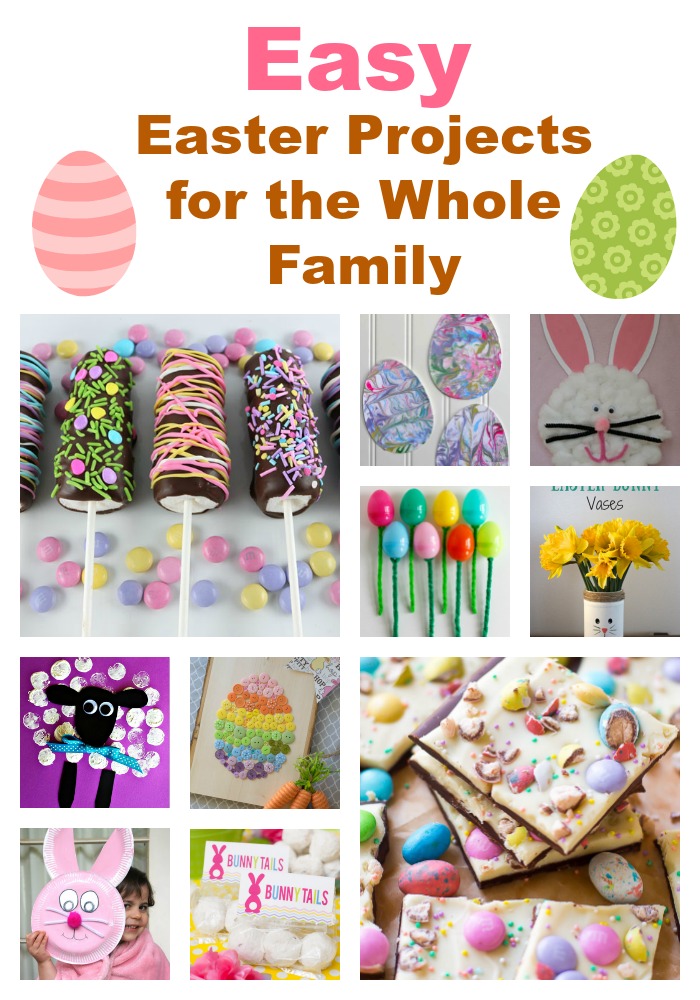
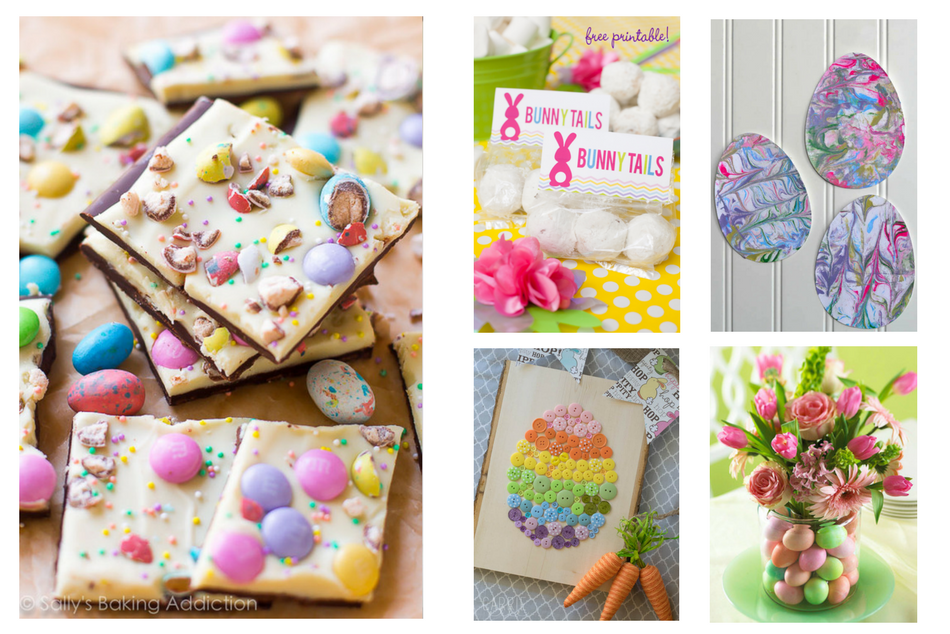
Take a look at some of these easy DIY Easter projects we rounded up. We love how adorable these turned out and that Easter Bunny Bark is calling our names!
Easy Easter Projects for the Family
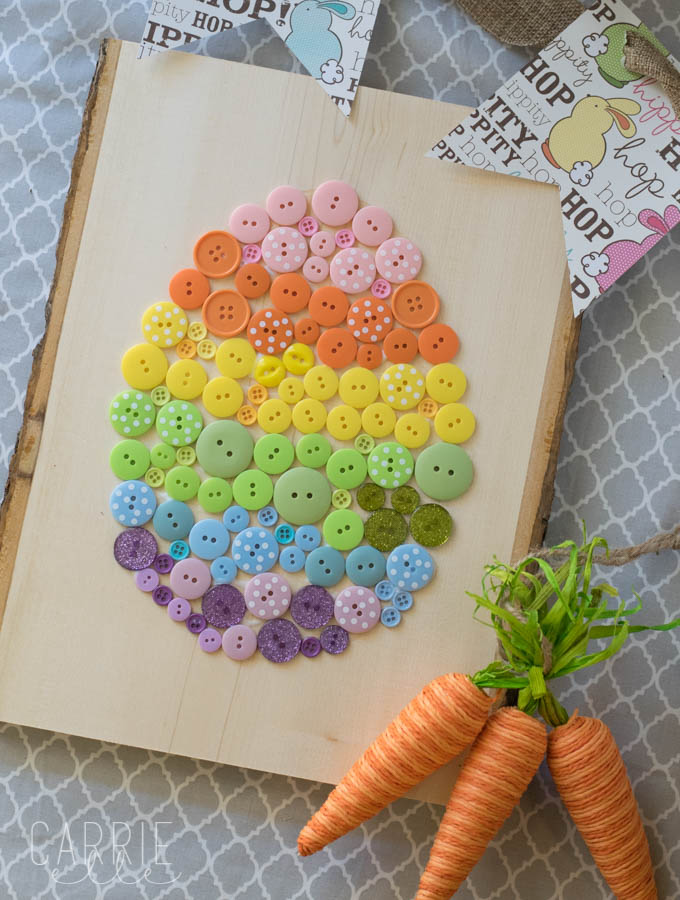
A slice of wood and some buttons from the craft store are all you need to create this super cute Button Easter Egg. Add a ribbon to hang it on the front door (a protected area) or place it on a small stand to display on the buffet table. Either way, it will add a pop of spring colors to your home in minutes.
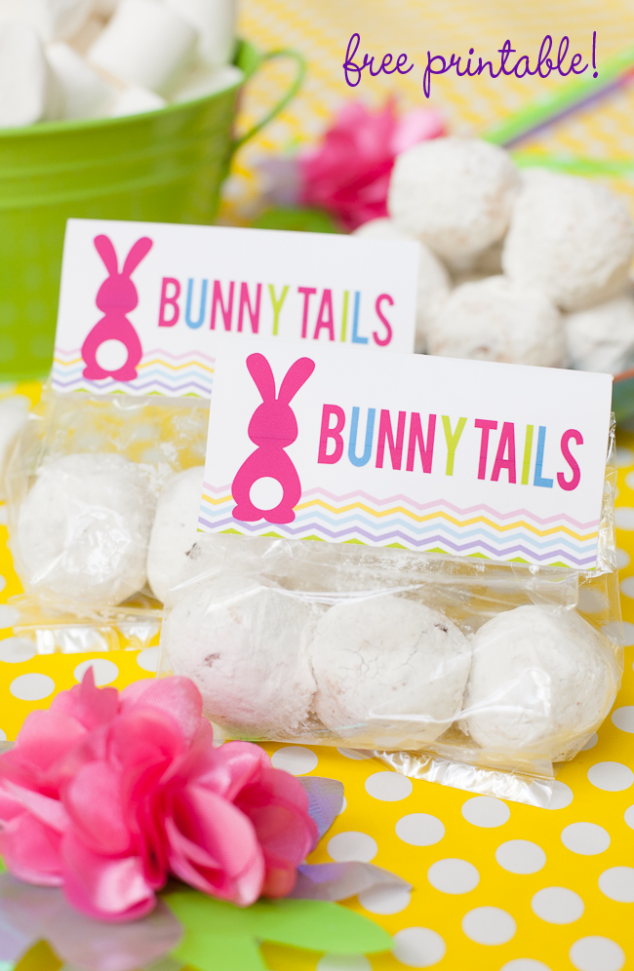
Who doesn’t love a FREE printable? These treat bag toppers for Bunny Tail Favors are super cute and quick to make. Just pop some powdered sugar donut holes into a treat bag and pop this free Easter printable on top for an adorable party favor.
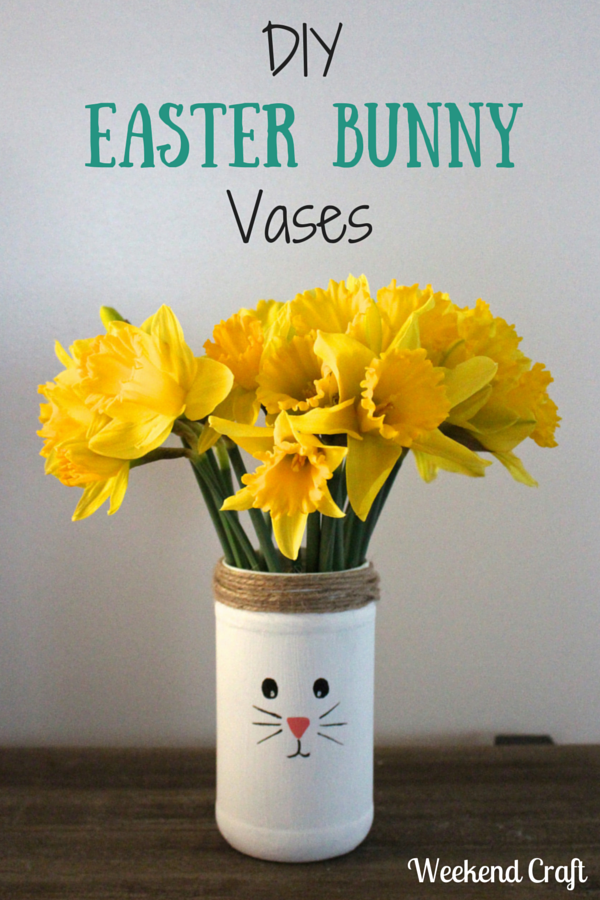
Imagine Easter bunnies and flowers down the center of your holiday table. Now imagine creating it yourself in almost no time at all – what a great Easter idea! These DIY Recycled Easter Bunny Vases are just the ticket for decorating on a budget.
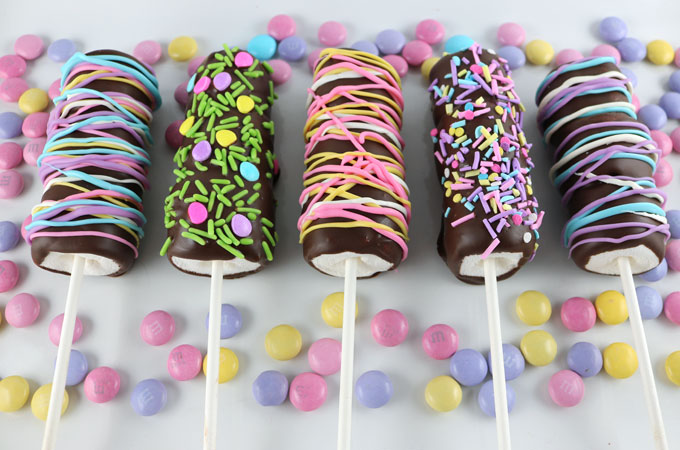
Do you have a family of adults that still would like an Easter Basket or Easter treat? They are sure to love these Springtime Marshmallow Wands. Stack, dip, decorate and repeat.
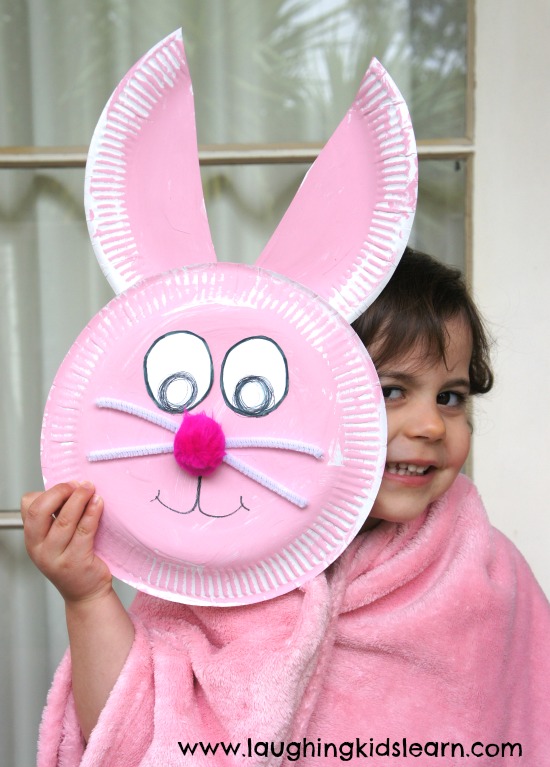
Looking for something for the little people to do while dinner is cooking? This Easter Bunny Paper Plate Craft might just be what you are looking for.
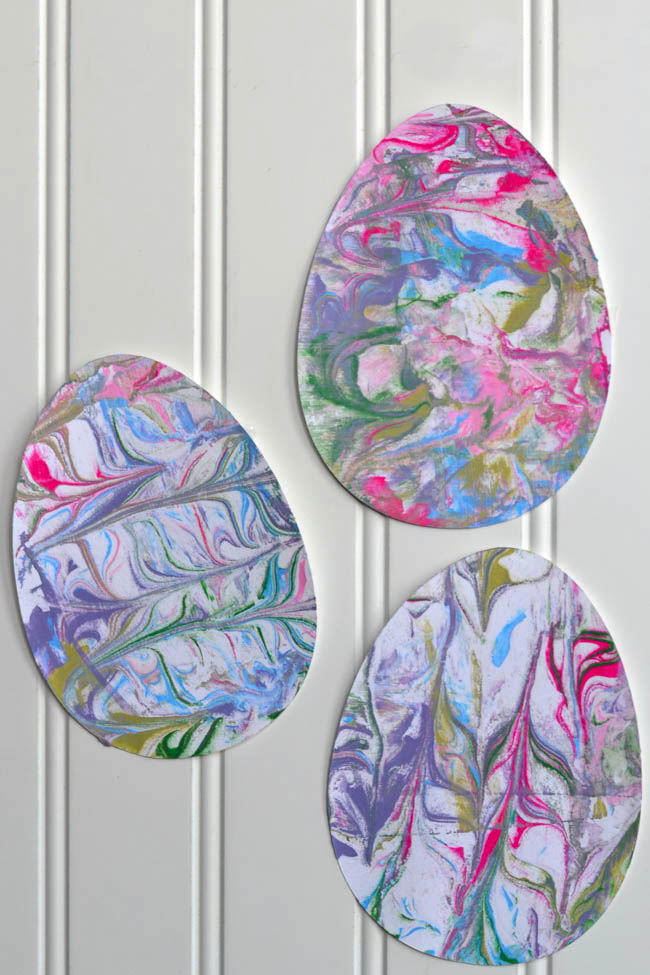
Are you the kind of mama who isn’t afraid of a mess? Shaving Cream Painted Easter Eggs are super gorgeous and your kiddos will have a blast making them.
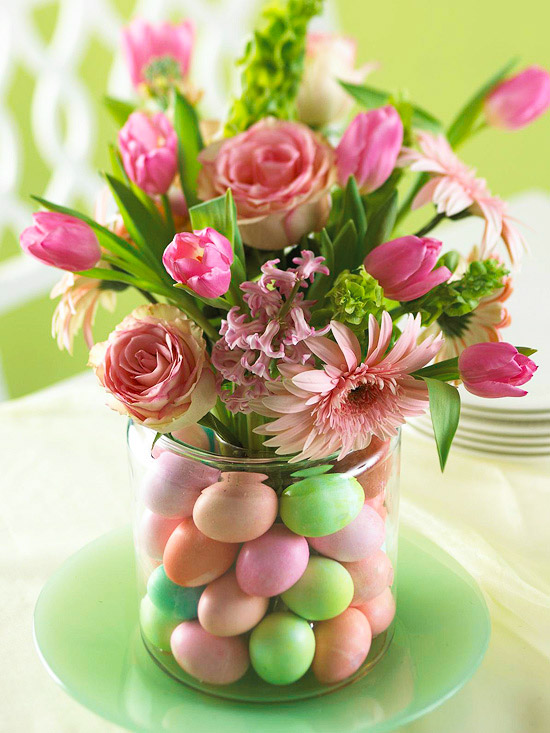
This Pastel Flower Bouquet with Eggs is deceptively simple to make. Place a clear drinking glass or thin vase in the center of a large-mouth jar or canister, and stack eggs between the glass and the jar. Fill the glass with water and arrange flowers. Easy peasy!
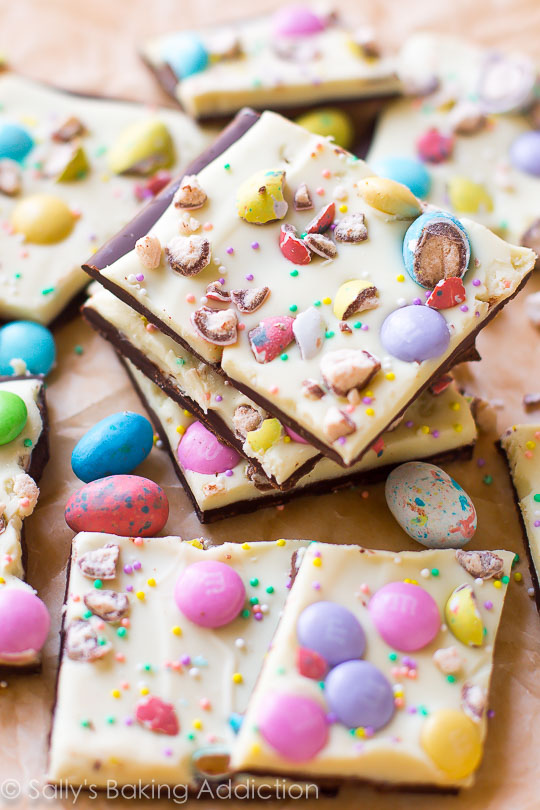
Who says the kids get all of the candy? Not us! This quick Easter Bunny Bark is a great treat for the adults in your world. But you know, make enough for the kids too. Just in case.
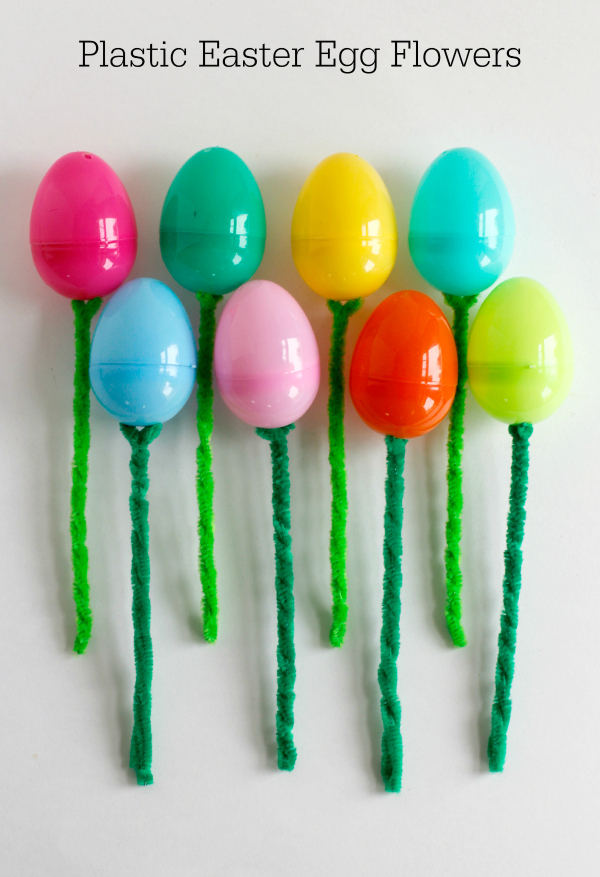
Finally! A project that uses up the plastic Easter eggs. Plastic Easter Egg Flowers are so easy to make you’ll want to make a whole bouquet. And why not, it keeps them out of the landfill!
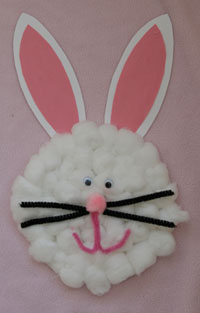
Here is another fun project for the little people. This Paper Plate Easter Bunny Craft will have them hopping around pretending to be bunnies and wearing themselves out. You know, so you can enjoy that Easter Bunny Bark above in peace.
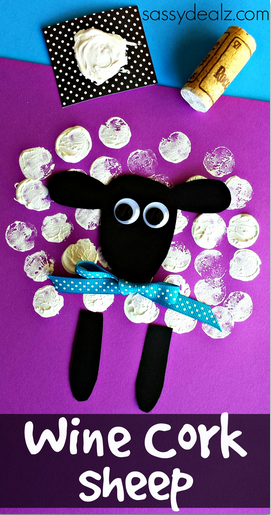
And finally, a Wine Cork Sheep Craft. Have the pieces of the sheep cut out ahead of time and let the kids go to town stamping the sheep wool. The bonus here, of course, is that you get to drink wine so you can use the corks!
Those are just a few of the great ideas we’ve seen. Which ones are you going to try with your family? Tell us in the comments or share your finished projects on our Facebook page!
by Vicki O'Dell | Mar 24, 2017 | Craft Tutorials
Hosting a bridal shower for a friend or family member can be expensive. Food, gifts, games and decor can all add up quickly. That is unless you want to roll up your sleeves and DIY to create some custom bridal shower decor! You can provide a lovely party with wonderful memories and not break the bank. That leaves you a bit of extra money for dress and shoe shopping (just don’t tell the bride-to-be).
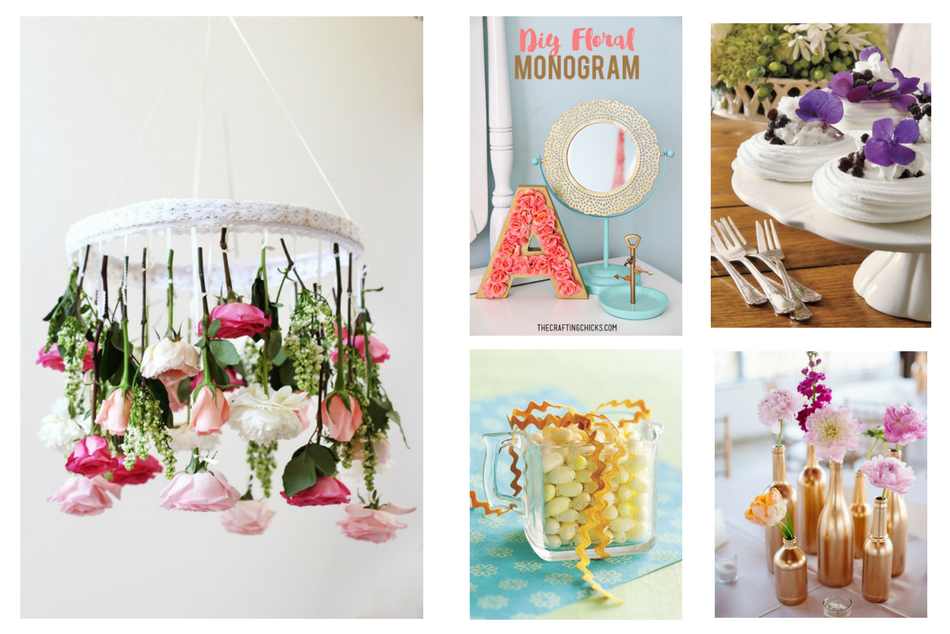
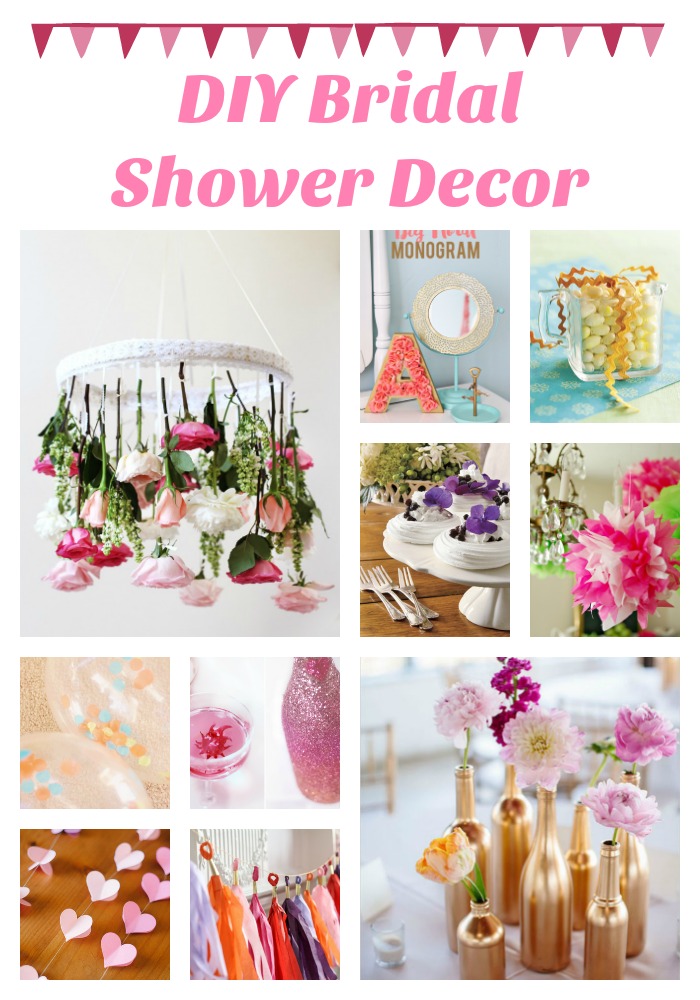
Take a look at some of these awesome bridal shower DIYs we found!
DIY Bridal Shower Decor
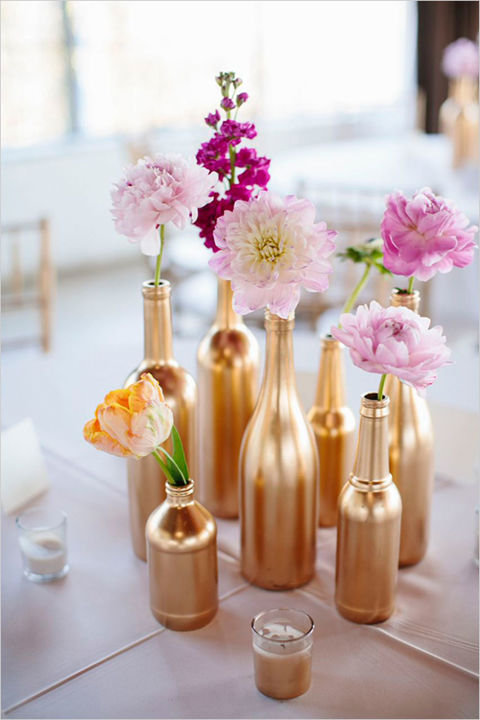
Repurposed Glass Bottles What a pretty way to unify a mix of sizes and shapes. Spray them all in one color and add a stem or two. Viola! Table decor done.
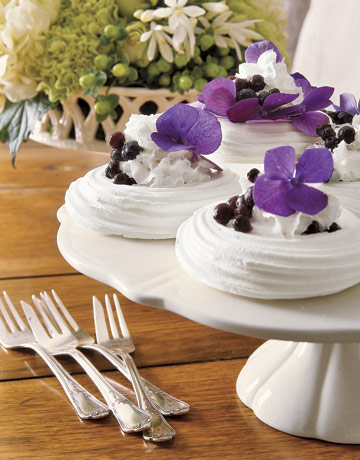
Pretty DIY Dessert – Pretty whipped cream filled meringues with blueberries and violets. Almost too pretty to eat.
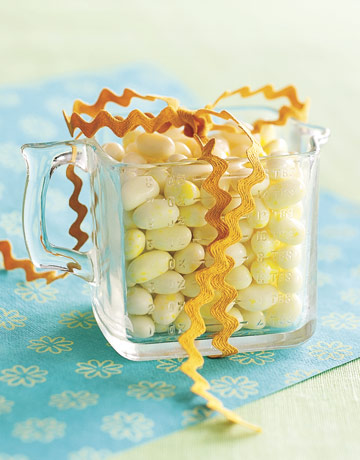
Useful Sweet Favors – Find tea cups, measure cups or other small vessels at the thrift store or flea market, wash them and then fill with candies for pretty useful favors.
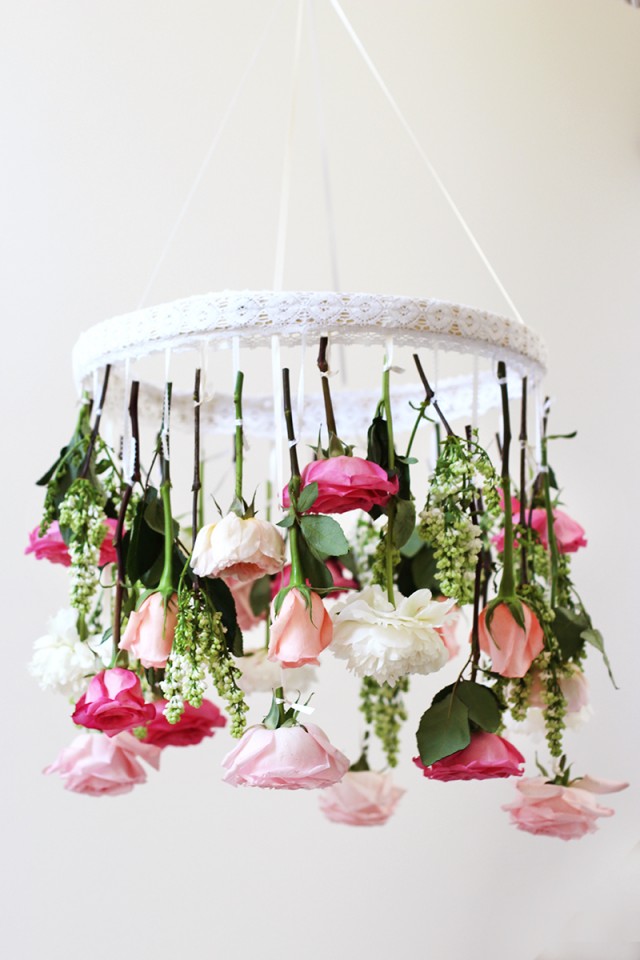
Is a large floral centerpiece not in the budget. Get your flower fix in a unique and pretty way with this DIY Flower Chandelier. Leave the flowers until they are completely dry for a pretty garden chandelier too!
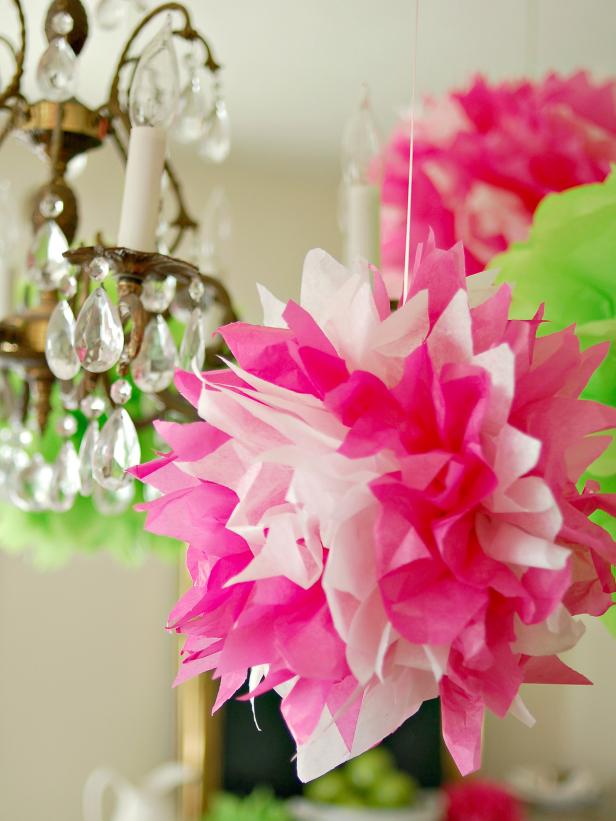
Tissue Paper Pom Poms are an easy way to create a decoration in colors that go with your theme or with the bride’s chosen colors. They are easy to make and super affordable.
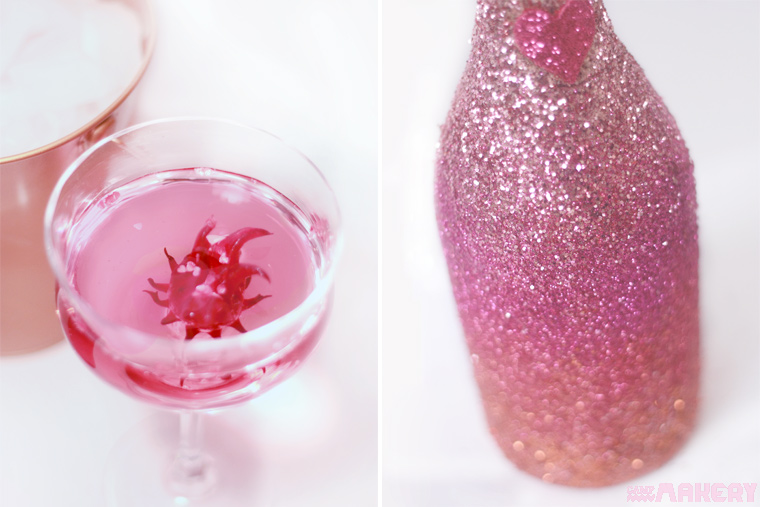
Super glam and pretty these DIY Glitter Champagne Bottles are a great way to add some fizz and sparkle to a shower. Glitter a few as a centerpiece or glitter lots of small ones for party favors.
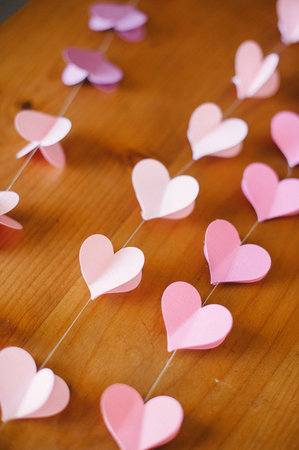
Whether you use it to decorate the room, as a photo booth backdrop or even to simply wrap a present you can’t go wrong with this DIY Heart Garland.
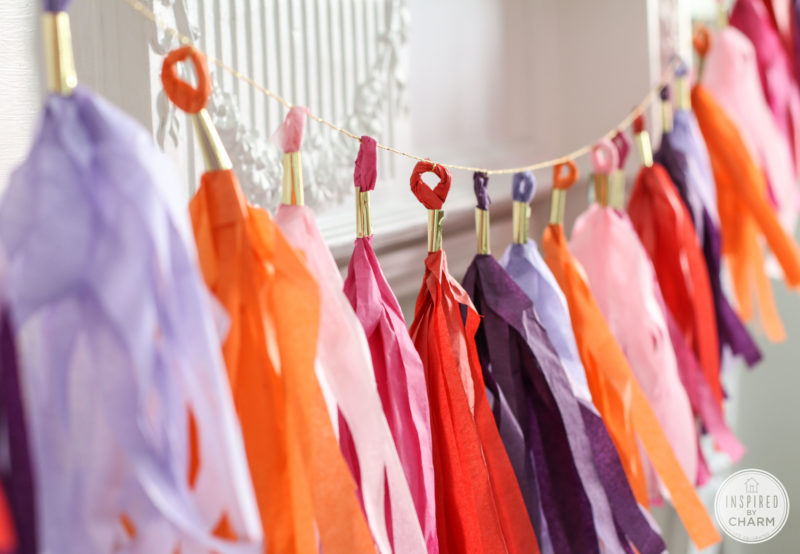
Another garland that is perfect for a party is DIY Tassel Garland. Again, you can create it in almost any color you want. Perfect for mixing and matching.
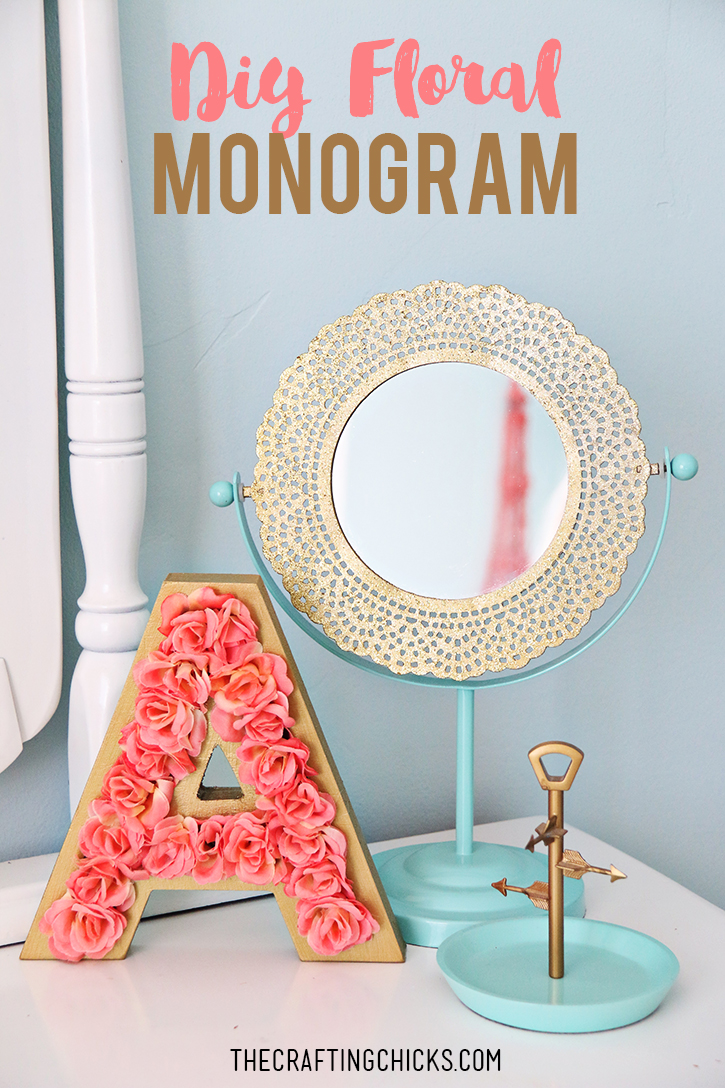
This DIY Floral Monogram is a great way to decorate the cake or cake table. Keep it from the shower to use on the card table or cake table at the wedding too if it works.
What is a party without balloons? And DIY Confetti Balloons are even better. Easy to make, fun to look at and easy on the budget.

Now that we’ve got your inspiration flowing, which DIY bridal shower decor projects are you going to try first? Is there an easy DIY decor project that we missed? Let us know in the comments!
by Tanner and Courtney | Mar 23, 2017 | Craft Tutorials
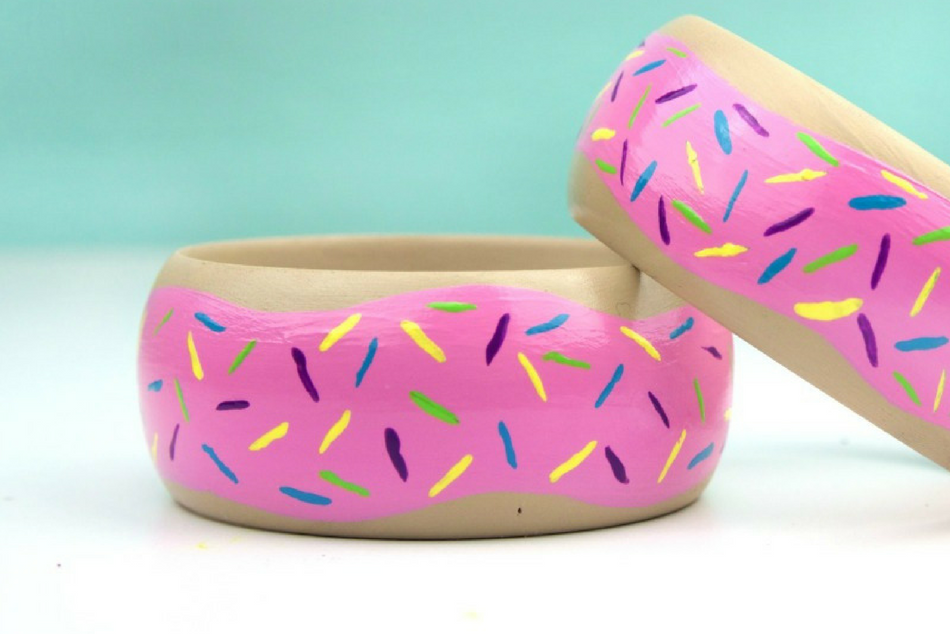
Hey guys, let’s talk about an amazing DIY that I made for you all today. It’s something that I know everyone loves and you’ll want to wear them all the time. They’re DIY Painted Donut Bangles that everyone will be so jealous of, so you have to make them! Who doesn’t love donuts? They’re so sassy and stylish, you’ll wear them with everything. Especially when you see how easy these are to make. You’ll just need a few simple supplies and you’ll have a new DIY fashion accessory to show off.
DIY Painted Donut Bangles
The supply list to make your own DIY painted bangles is super simple. Here is what you will need:
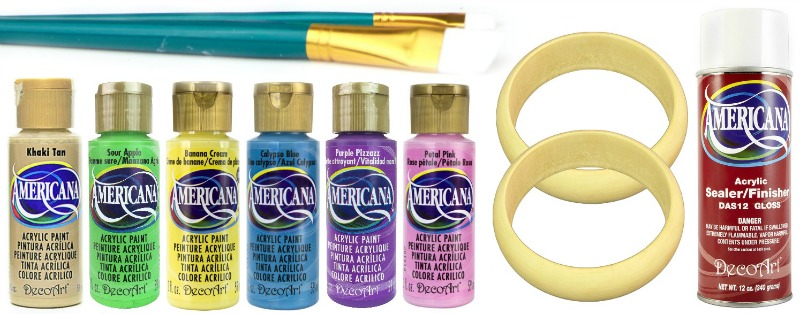 We’ve included links to our favorite supplies to make it easier for you to shop! If you purchase from these links, we’ll make a little money. Check out our disclosure and privacy policy.
Supplies:
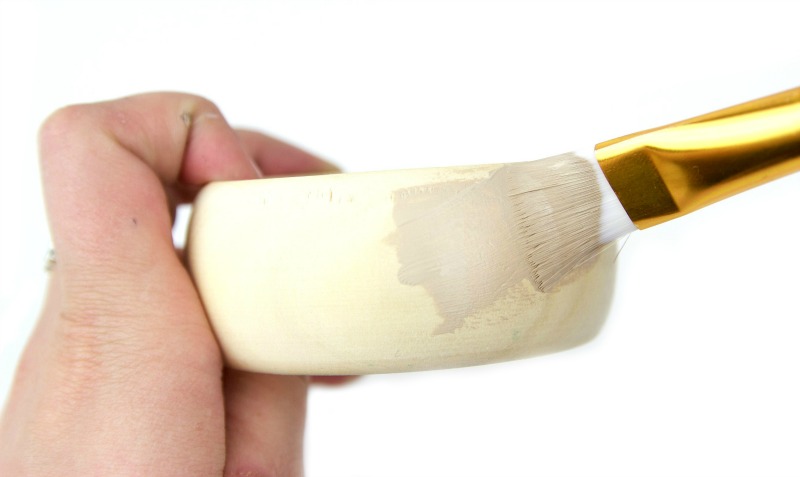
Step One: Paint the entire wooden bangle with tan paint.
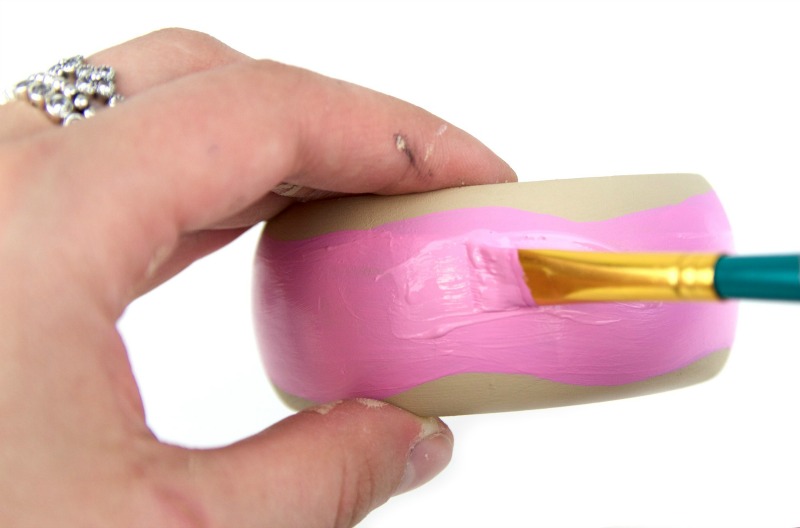
Step Two: Paint a thick wiggly line in pink or your favorite icing color around the bangle to be the icing.
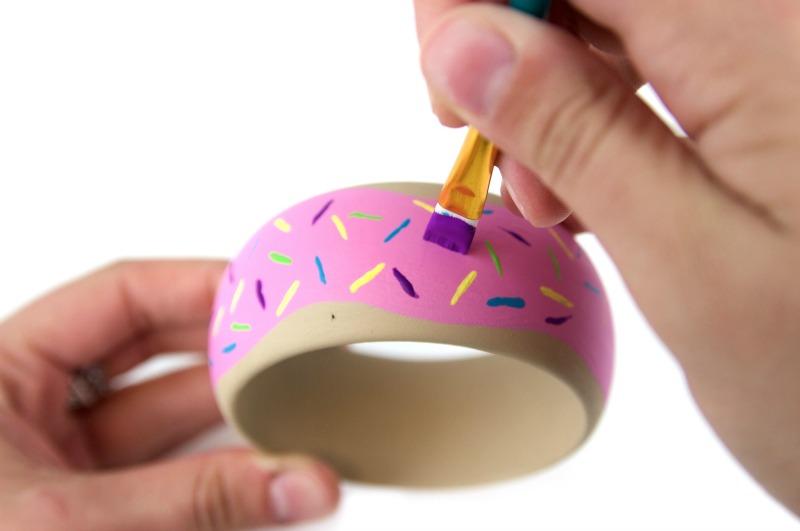
Step Three: Add sprinkles in all the other colors. Use a flat paintbrush and just touch it to the bangle to make perfect sprinkles.
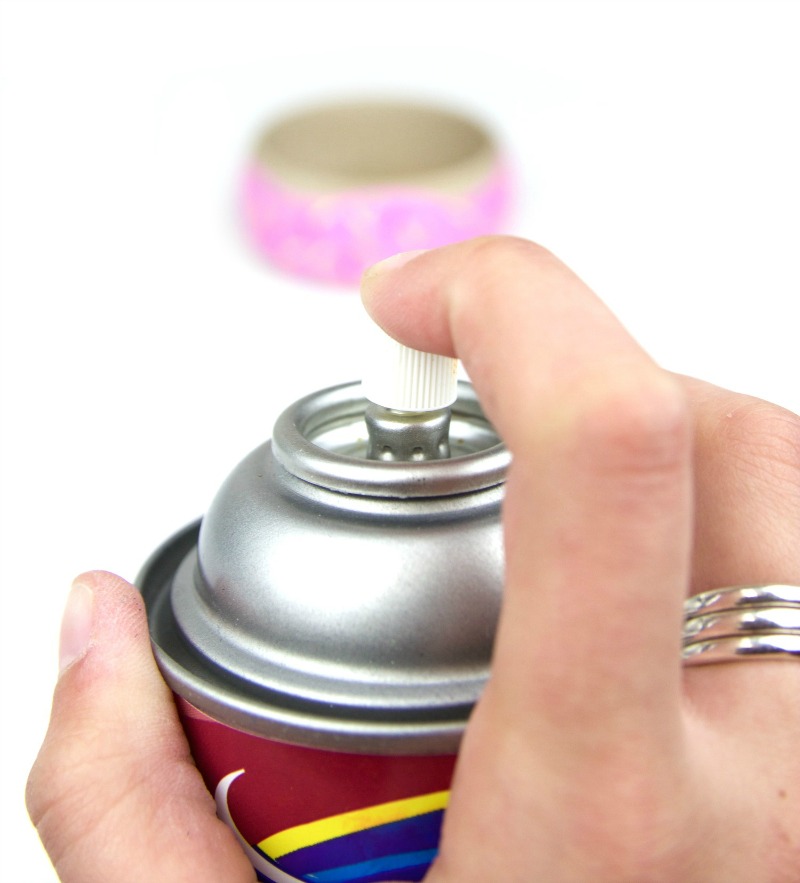
Step Four: Seal the bangles with a spray sealer to protect them from wear and tear. Let dry overnight and you’re good to go!
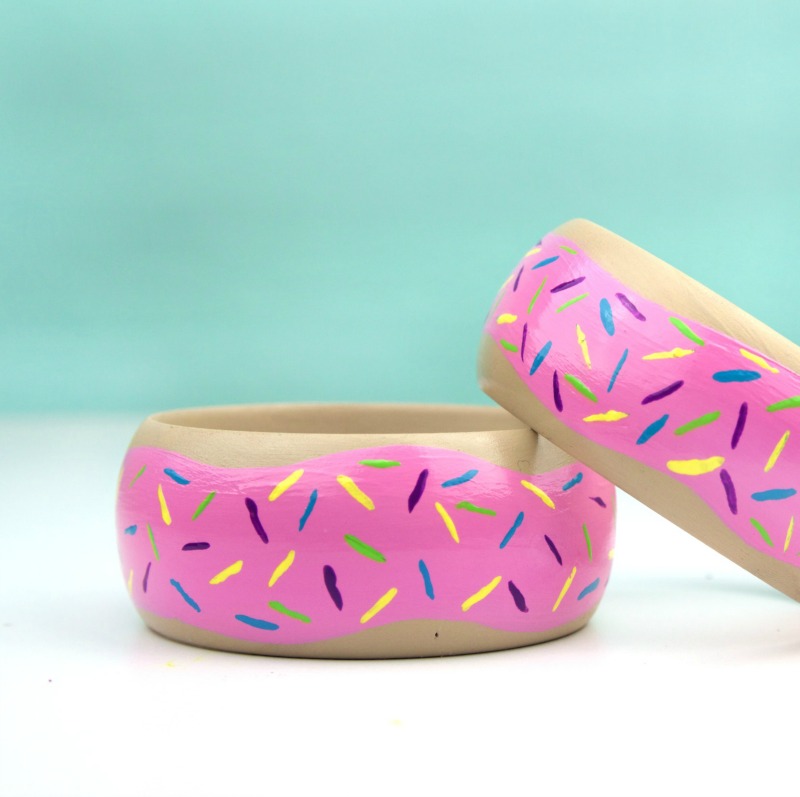
Don’t you love these donut bangles?! They look good enough to eat! When everyone asks where you got them, you’ll be so proud to say they were a DIY. You’ll be making them for all your friends and family so you can all have amazing matching bangles. I hope you enjoyed this tutorial! Share pictures of your finished bracelets on our Facebook page!


 We’ve included links to our favorite supplies to make it easier for you to shop! If you purchase from these links, we’ll make a little money. Check out our


