Sew Easy Utility Apron
Hi everyone!
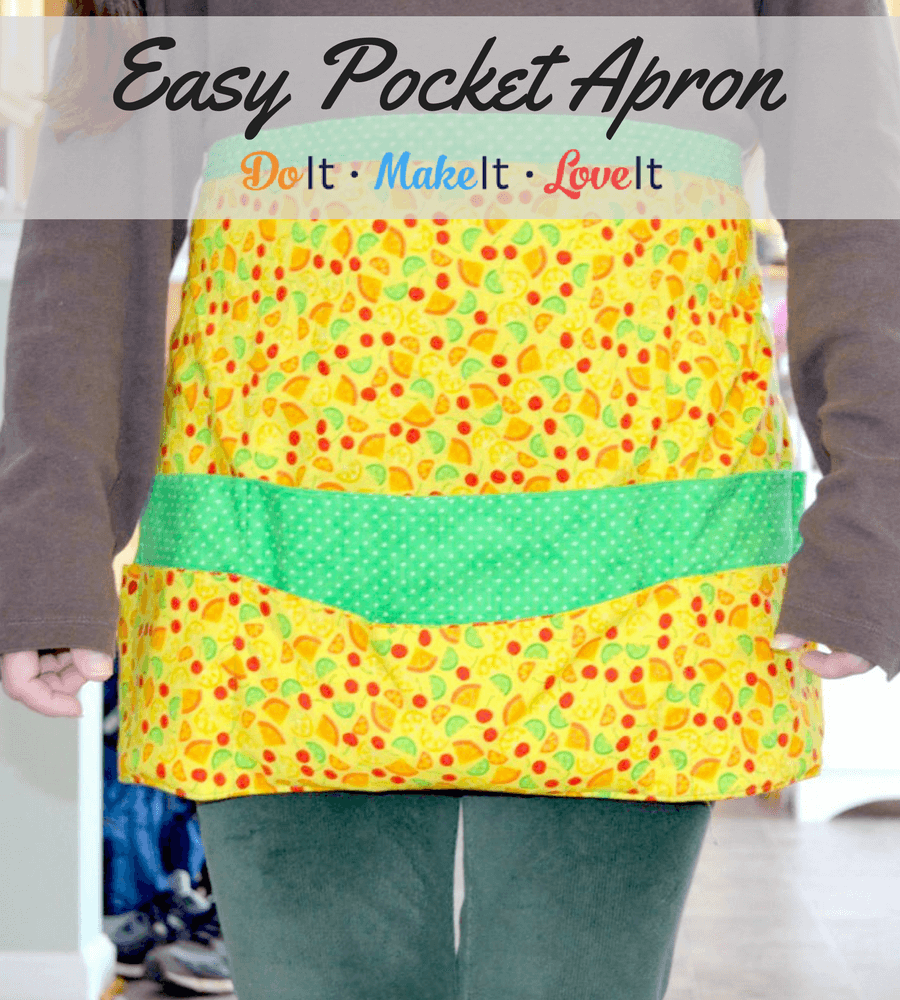
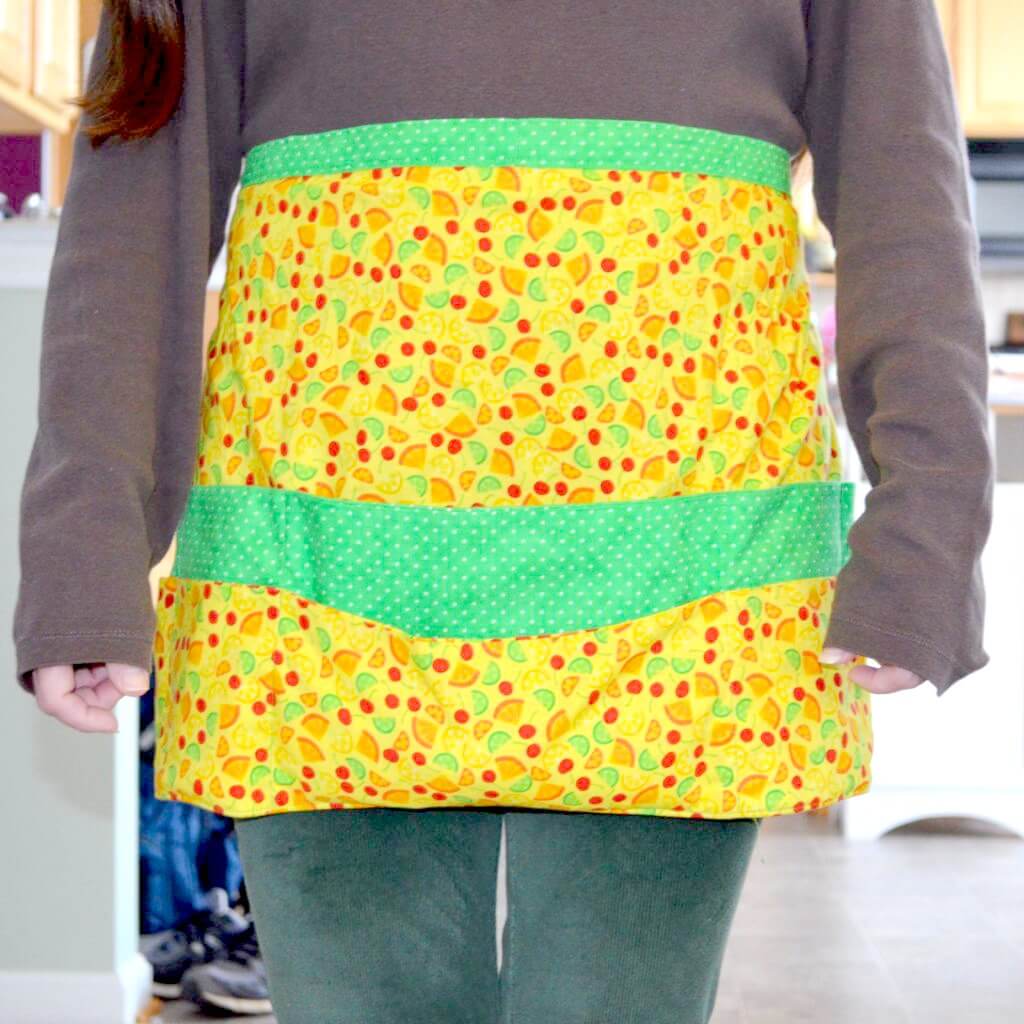
I recently started a new job where I needed an apron with lots of pockets to stash things in. They had one there I could use but it didn’t have enough pockets AND it certainly wasn’t very exciting. So I decided to make my own.
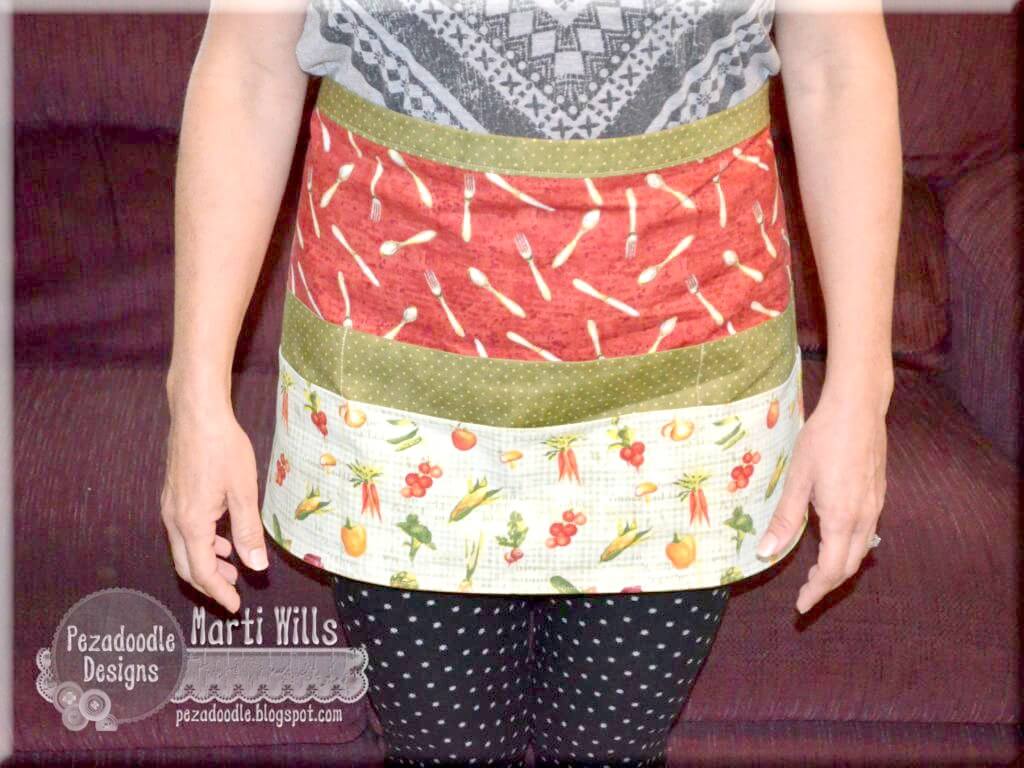
I based my pattern loosely off of the one they had – I find this a good method for a lot of things I want to make. Now I am passing this pocket apron tutorial on to all of you!
You will need a sewing machine and basic sewing skills to complete this apron but it is definitely a great beginning sewist pattern and can be done in 3-4 hours at most.
Easy Utility Apron Tutorial
Supplies:
- Sewing machine
- Scissors and ruler or better yet a quilter’s rotary cutting tool, mat and ruler (I will demonstrate those in this tutorial if you are unfamiliar with them.
- Fabric 1 – body of apron (the reddish color in the above pic) – 1/2 yard
- Fabric 2 – large pocket & tie (the green polka dot fabric above) – 2/3 yard
- Fabric 3 – small pocket (vegetable fabric above) – 1/3 yard
- Fabric 4 – backing (this can be cheap or leftovers from a previous project as it doesn’t really show) – 1/2 yard
- Matching thread
- Iron
- Spray starch (optional but I never sew without it!)
Instructions
You may want to use more or less different fabrics so adjust yardage. If you want to get a separate fabric for the tie you need 1/4 yard though you may want slightly more in case the cut edges are uneven so much that you have to trim it down quite a bit.
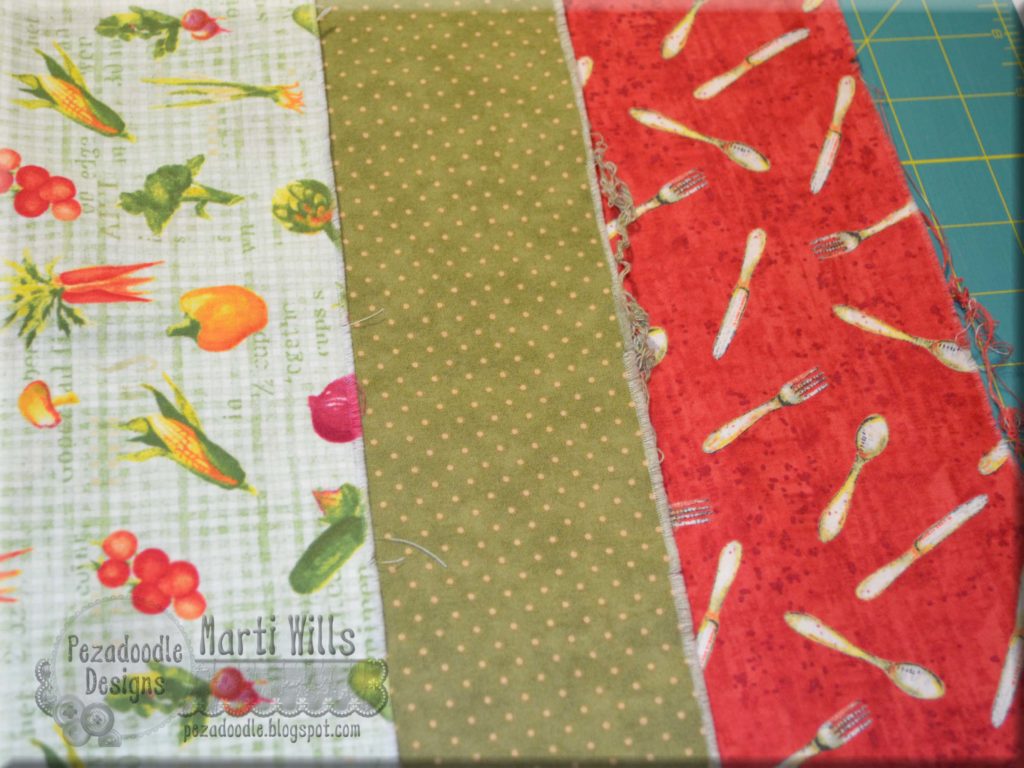
Since this is an item that will be washed when in use I strongly encourage you to wash your fabric before starting this project.
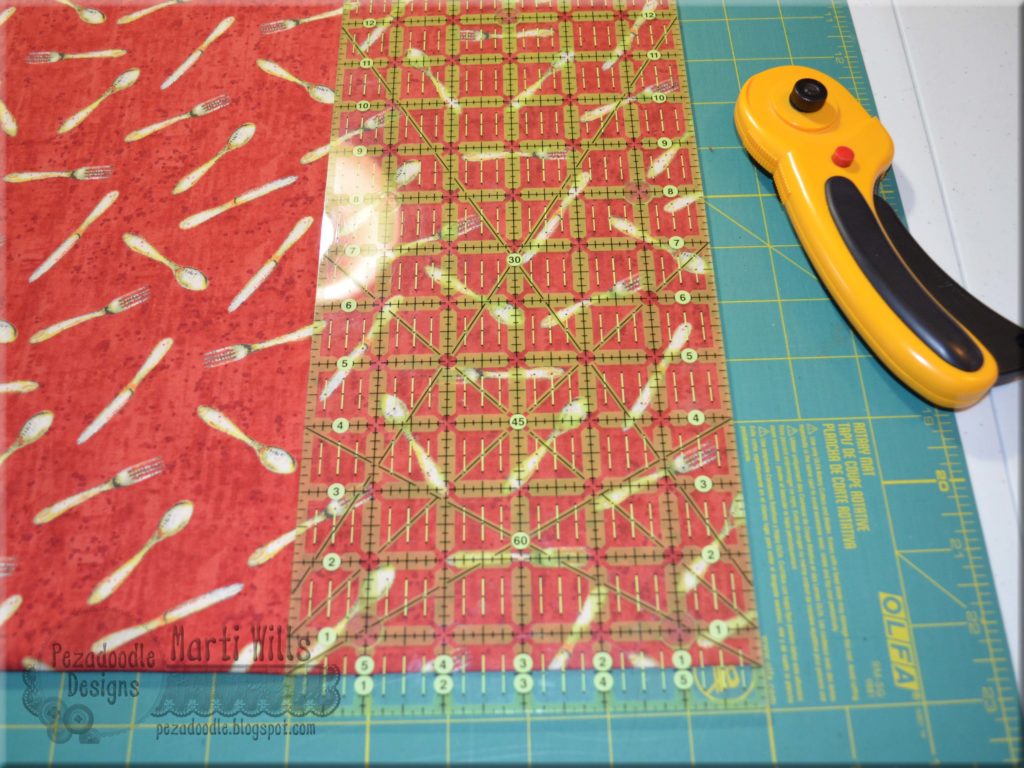
This simple project calls for rectangles of fabric so we will start with a discussion of a super easy way to cut your fabric to make sure you get a straight, even, well measured cut. This requires an investment of supplies but if you plan to sew more than this single item it will be well worth it. However, cutting with a good pair of scissors also works!
In the picture above I have a rotary cutter and a green cutting mat. The mats can be expensive so I get mine at Joann’s using a 50% coupon when available. The rotary cutter has a replaceable blade which is nice. In addition, you can see a clear plastic grid style ruler with yellow markings.
Your first cut will be to even up the frayed cut edge of your piece of fabric. Fold the fabric in half with the finished (selvage) edges together and hold it up in front of you. If you have the sides even you may notice the fabric isn’t flat – both sides touching each other. There is usually a bump or slight off-centeredness. Slowly slide your selvage edges one side to the left and one to the right until the fabric hangs straight.
Now your cut edges are uneven so we need to trim one side. Lay it down on your mat – don’t pay attention to the ruler markings on the mat. Place your ruler down on top so that your folded edge is lined up straight along one of the markings – look at the bottom of the above pic – I have it lined up along the half-inch mark all the way across. Make sure your right side of your ruler (left if you are a lefty) is lined up along your uneven cut edge so that when you cut, you cut off all the unevenness. The above pic is AFTER I cut off the uneven edge.
Now take your rotary cutter and cut along the edge of your ruler making sure your ruler doesn’t slip side to side and your rotary cutter doesn’t stray from the edge of your ruler. And yes for some, like me, this might take some practice!
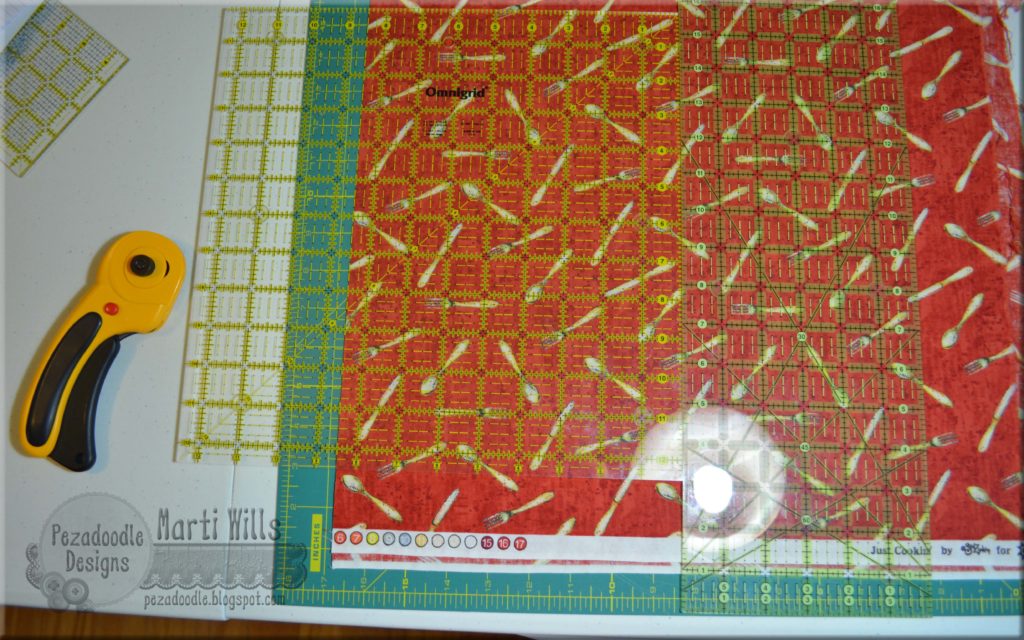
Now, don’t pick up the fabric and move it. Instead turn the mat itself around so your straight edge is now on the left (right if you are left-handed.) You are going to measure from your straight edge – 14 1/2″ – in this case, I need to use 2 rulers. To be sure you have a nice straight edge line up your ruler with the straight cut you made previously. This is the method used for all quilting, in case that is something you wish to embark on in the future. Once again, you can also measure 14 1/2″ with a ruler, draw a line and cut with scissors.
Regardless of how you choose to cut the fabric here are the sizes you will need:
- Main panel/body of apron – 28 1/2″ x 14 1/2″
- Larger pocket – 28 1/2″ x 14 1/2″
- Smaller front-most pocket – 28 1/2″ x 10 1/2″
- Tie – width of fabric x 4″ – 2 strips
- Apron backing – 28 1/2″ x 14 1/2″
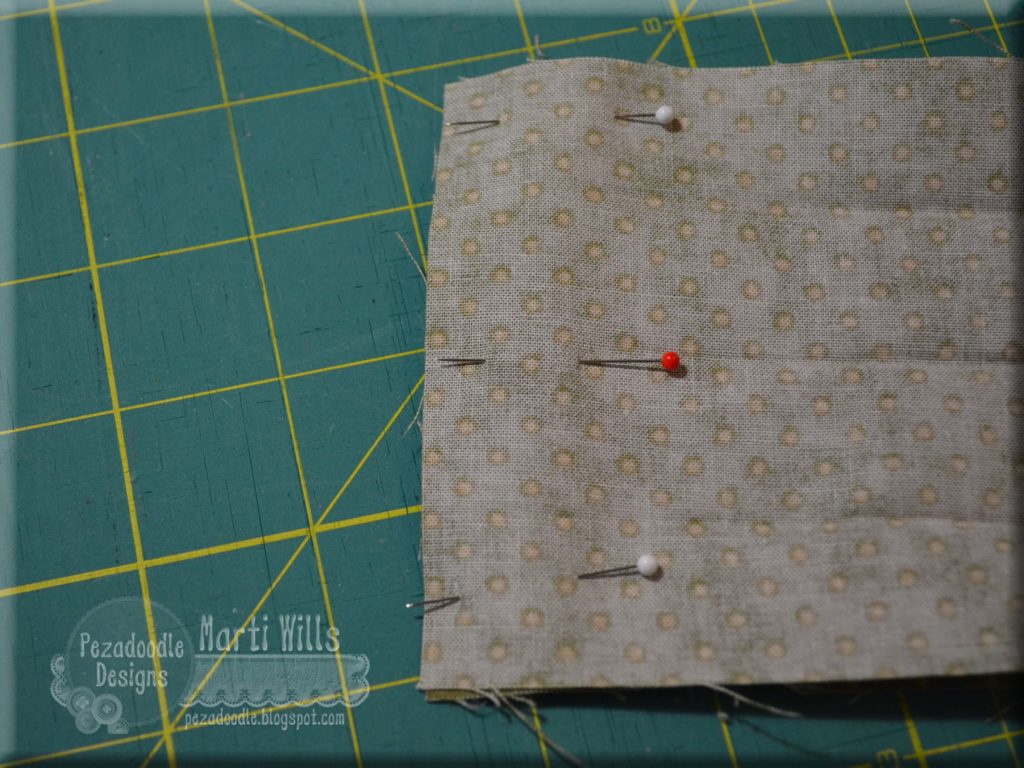
All sewing is done using 1/4″ seam allowance.
Let’s begin with the tie. Trim off the selvage on each end of the tie strips. Place the 2 pieces right sides together on one short end. Sew them together. Press the seam open. On each sort side fold the fabric edge up 1/2″ and iron well. Unfold and fold it up again so the cut edge meets the fold line and iron. Finally, fold it back up a second time matching your initial crease so the cut edge is inside the fold and iron well.
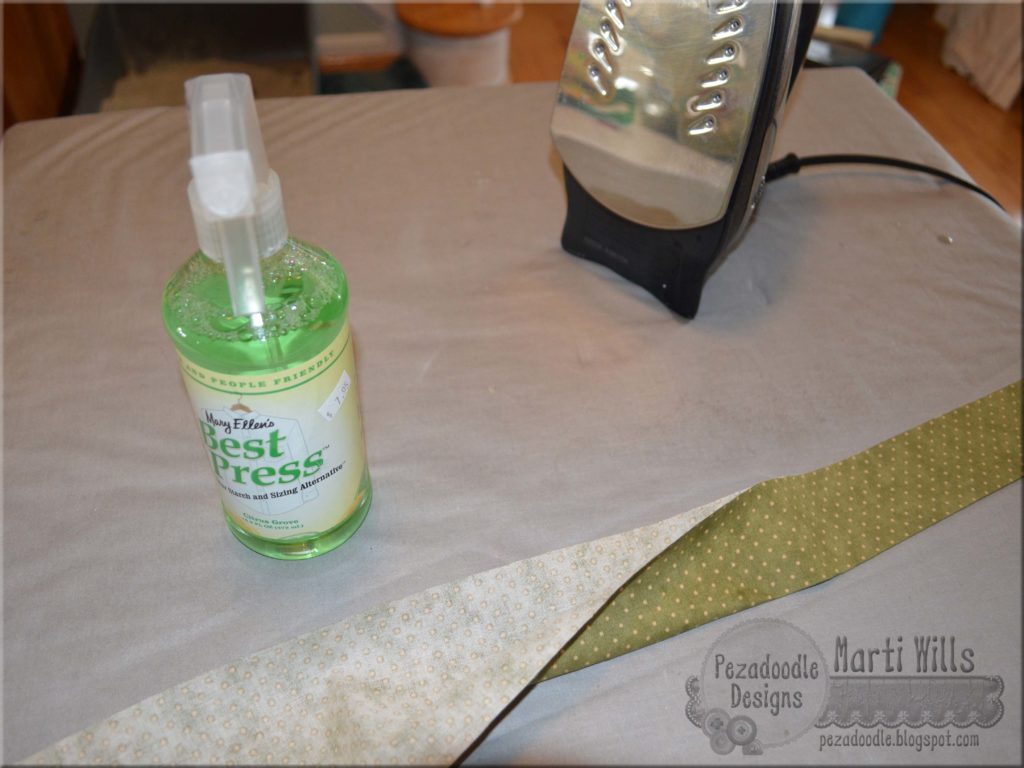
Fold the tie in half, wrong sides together and iron well – I find it helps to use the spray starch. You can see my favorite starch in the picture – Best Press.
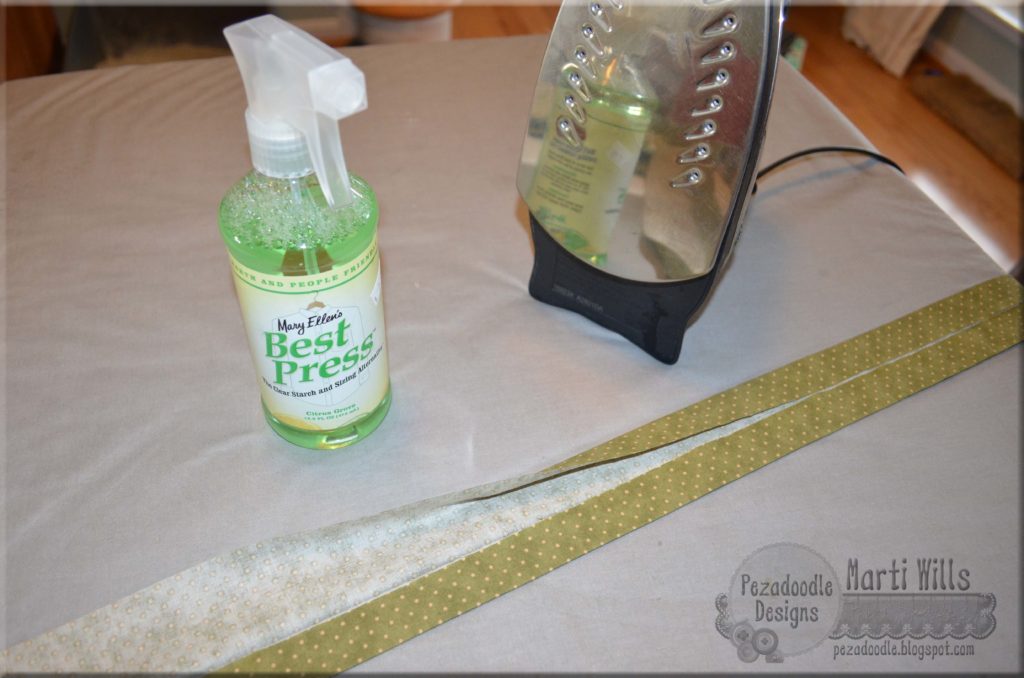
Next, unfold it and use that center fold line as a guide to fold up each cut edge to meet the center crease and iron well. Once each side is ironed, fold the tie in half again and give it one final ironing. Set the tie aside.
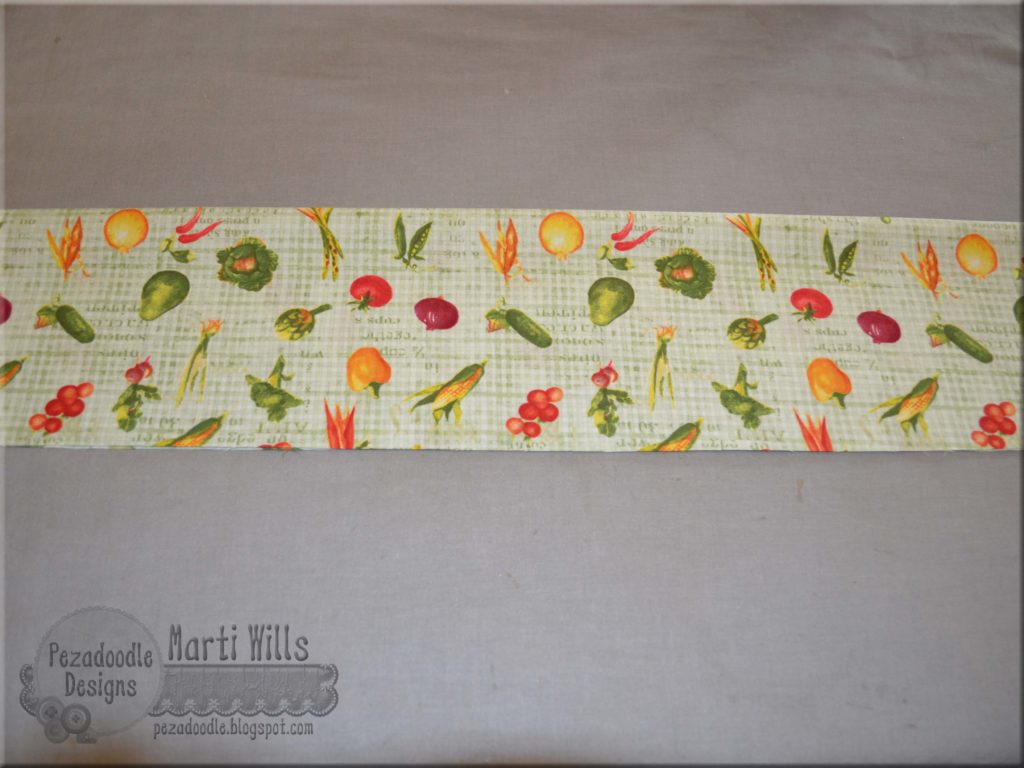
Now let’s work on the 2 pockets. Fold each pocket piece in half wrong sides together lengthwise and iron.
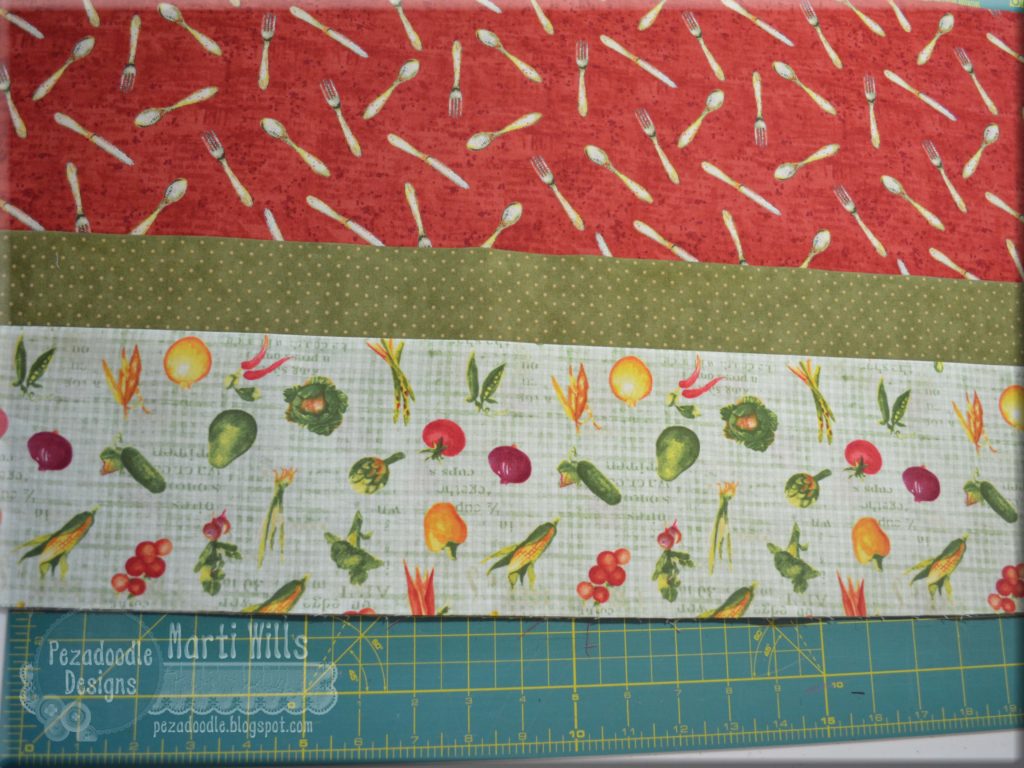
Lay the front piece of your apron down right side up. Lay the large pocket on top with the folded edge at the top and the raw edge lined up with the bottom raw edge of the apron front. Finally lay the shorter pocket on top of the larger one in the same way.
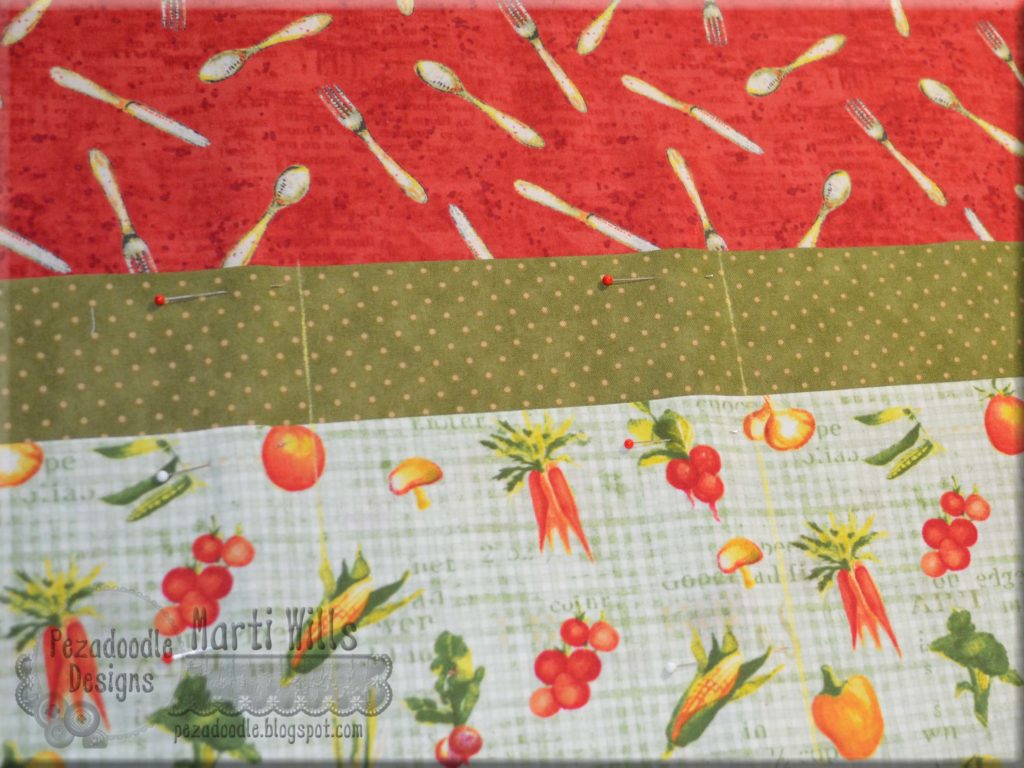
Pin the layers in place in a few spots so they don’t slip. Now you are going to sew some dividing lines to break up the pockets into compartments. Mine are divided into 5 pockets. I started by using a ruler and drawing a line with a chalk marker that divided the pockets into thirds. Then I divided each side section in half. Pin along each chalk line and sew. I like to back stitch and forward stitch a couple times at the top of each pocket to withstand the stress of putting things (and hands) in and out of them.
Lay the pieces back down right sides up. Lay the back-side fabric on top right side down. Pin around the sides and bottom edges making sure all edges are even.
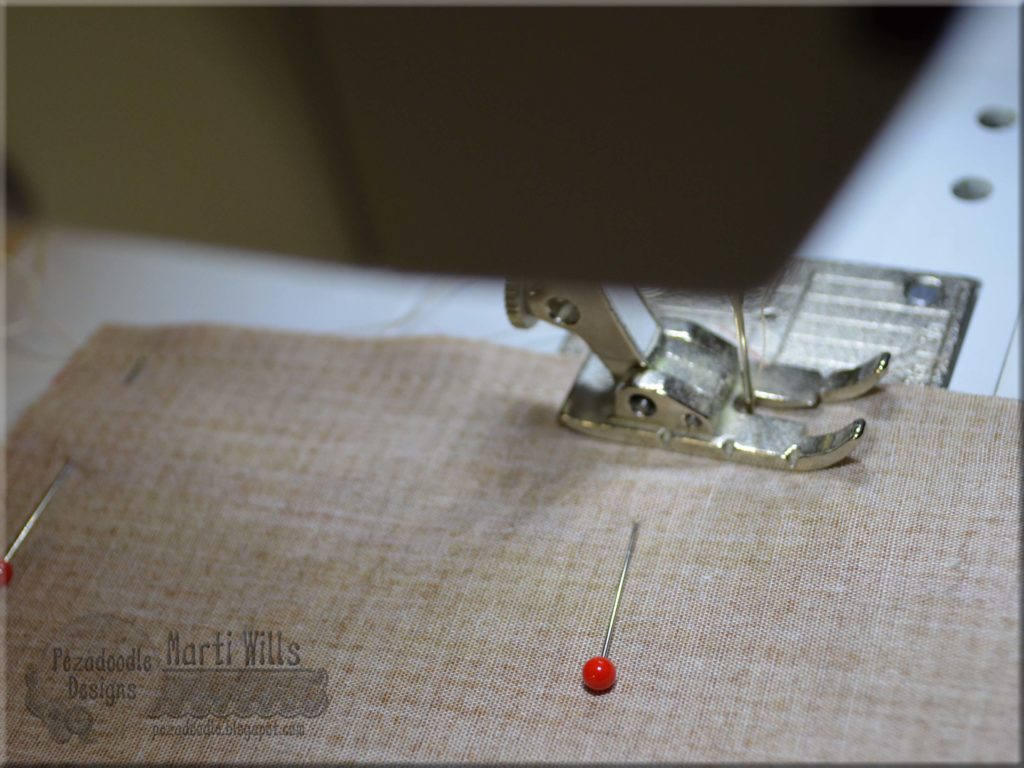
Make sure your needle is in the needle down position and begin sewing at the top of 1 side going all the way down, across the bottom and back up the other side. At the corners, stop sewing 1/4″ from the next side with the needle down in the fabric, lift your presser foot with the needle still in the fabric and turn so you can continue sewing the next edge.
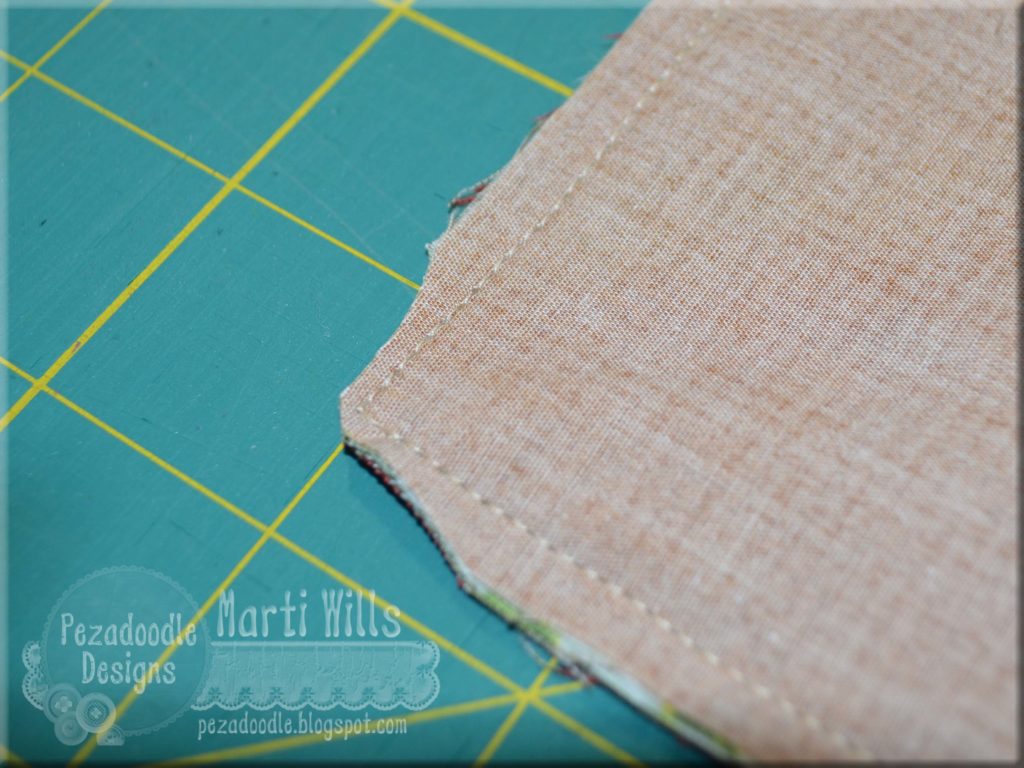
In order to make your corners “pointy” you need to trim them carefully to reduce the bulk of the fabric. Then turn it all right side out and push out along the seams and especially at the corners and iron well.
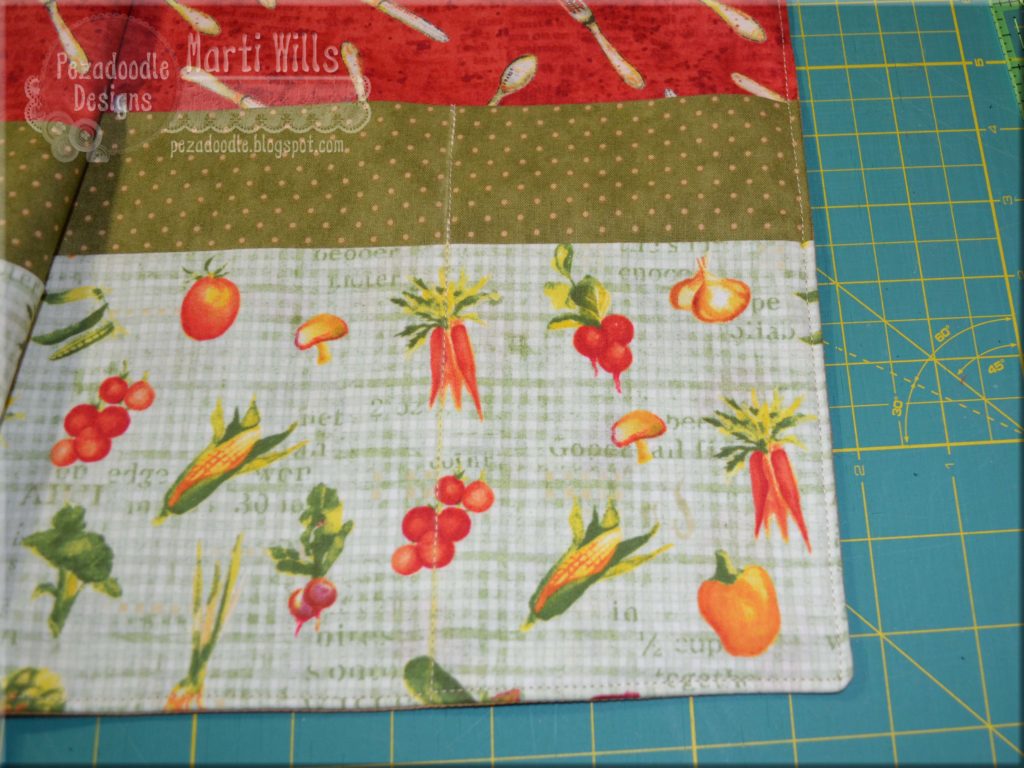
Now, with your needle still in the down position, top stitch along the side and bottom edge 1/8″ from the edge as shown above.
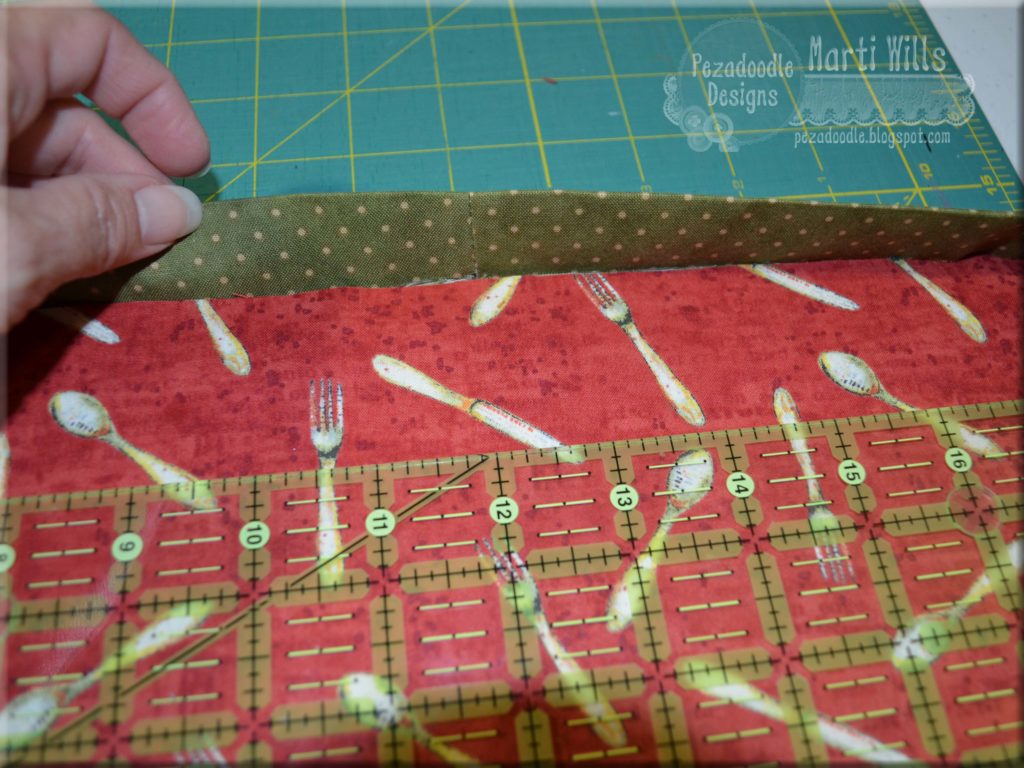
Now we are going to attach the tie to the top edge. Using a ruler determine the exact center of the apron so you can line up the center seam of your tie. Sandwich the apron layers between the layers of the tie so the raw edges are up against the inner fold of the tie. Pin in place on apron front and then all the way down to each end of the tie. On each short end of the tie be sure to pin so the hem you ironed in place at the beginning remains as you ironed it. Pin it too.
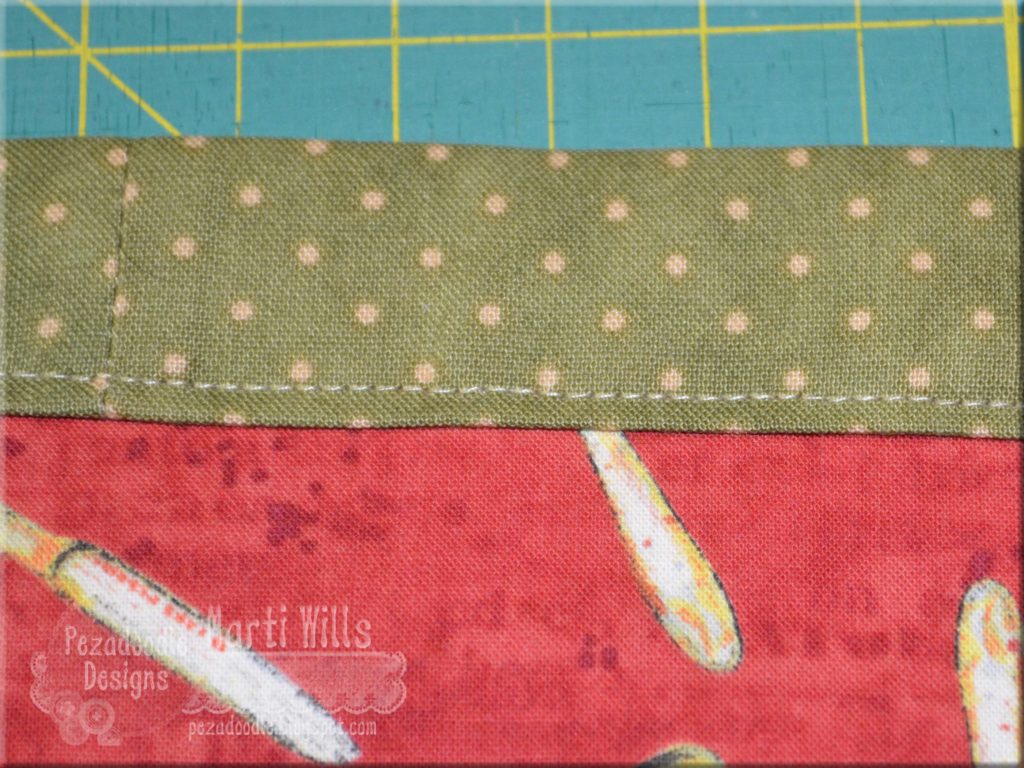
Now top stitch the tie 1/4″ from the edge. Start on one end, at the fold so you can close up the short edge, at the corner turn with needle down like before, continue all the way down the apron front and up the other short edge. Check to be sure you caught the back edge of the tie as well as the front.

Now wear it with pride!

Have fun with your fabric choices and make several! And, as always, we’d love to see your version! If you made one, share a picture with us on Facebook or tag us on Instagram.
