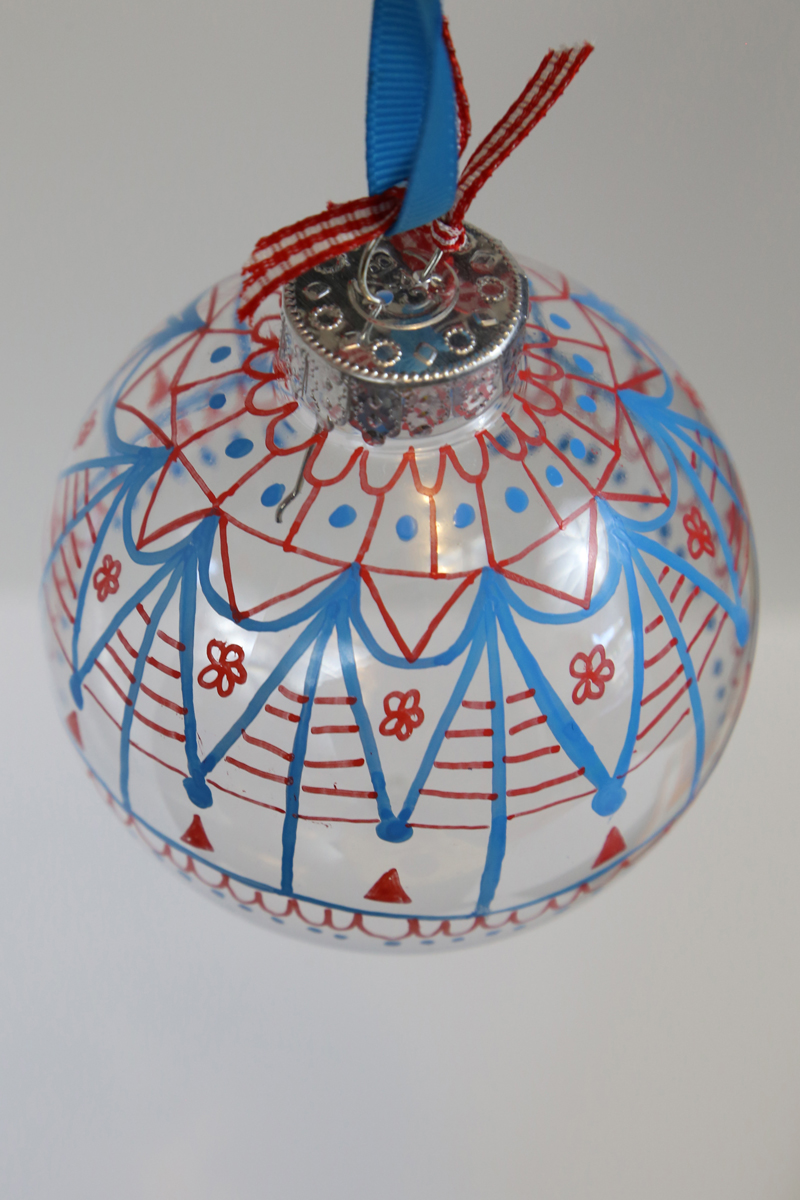
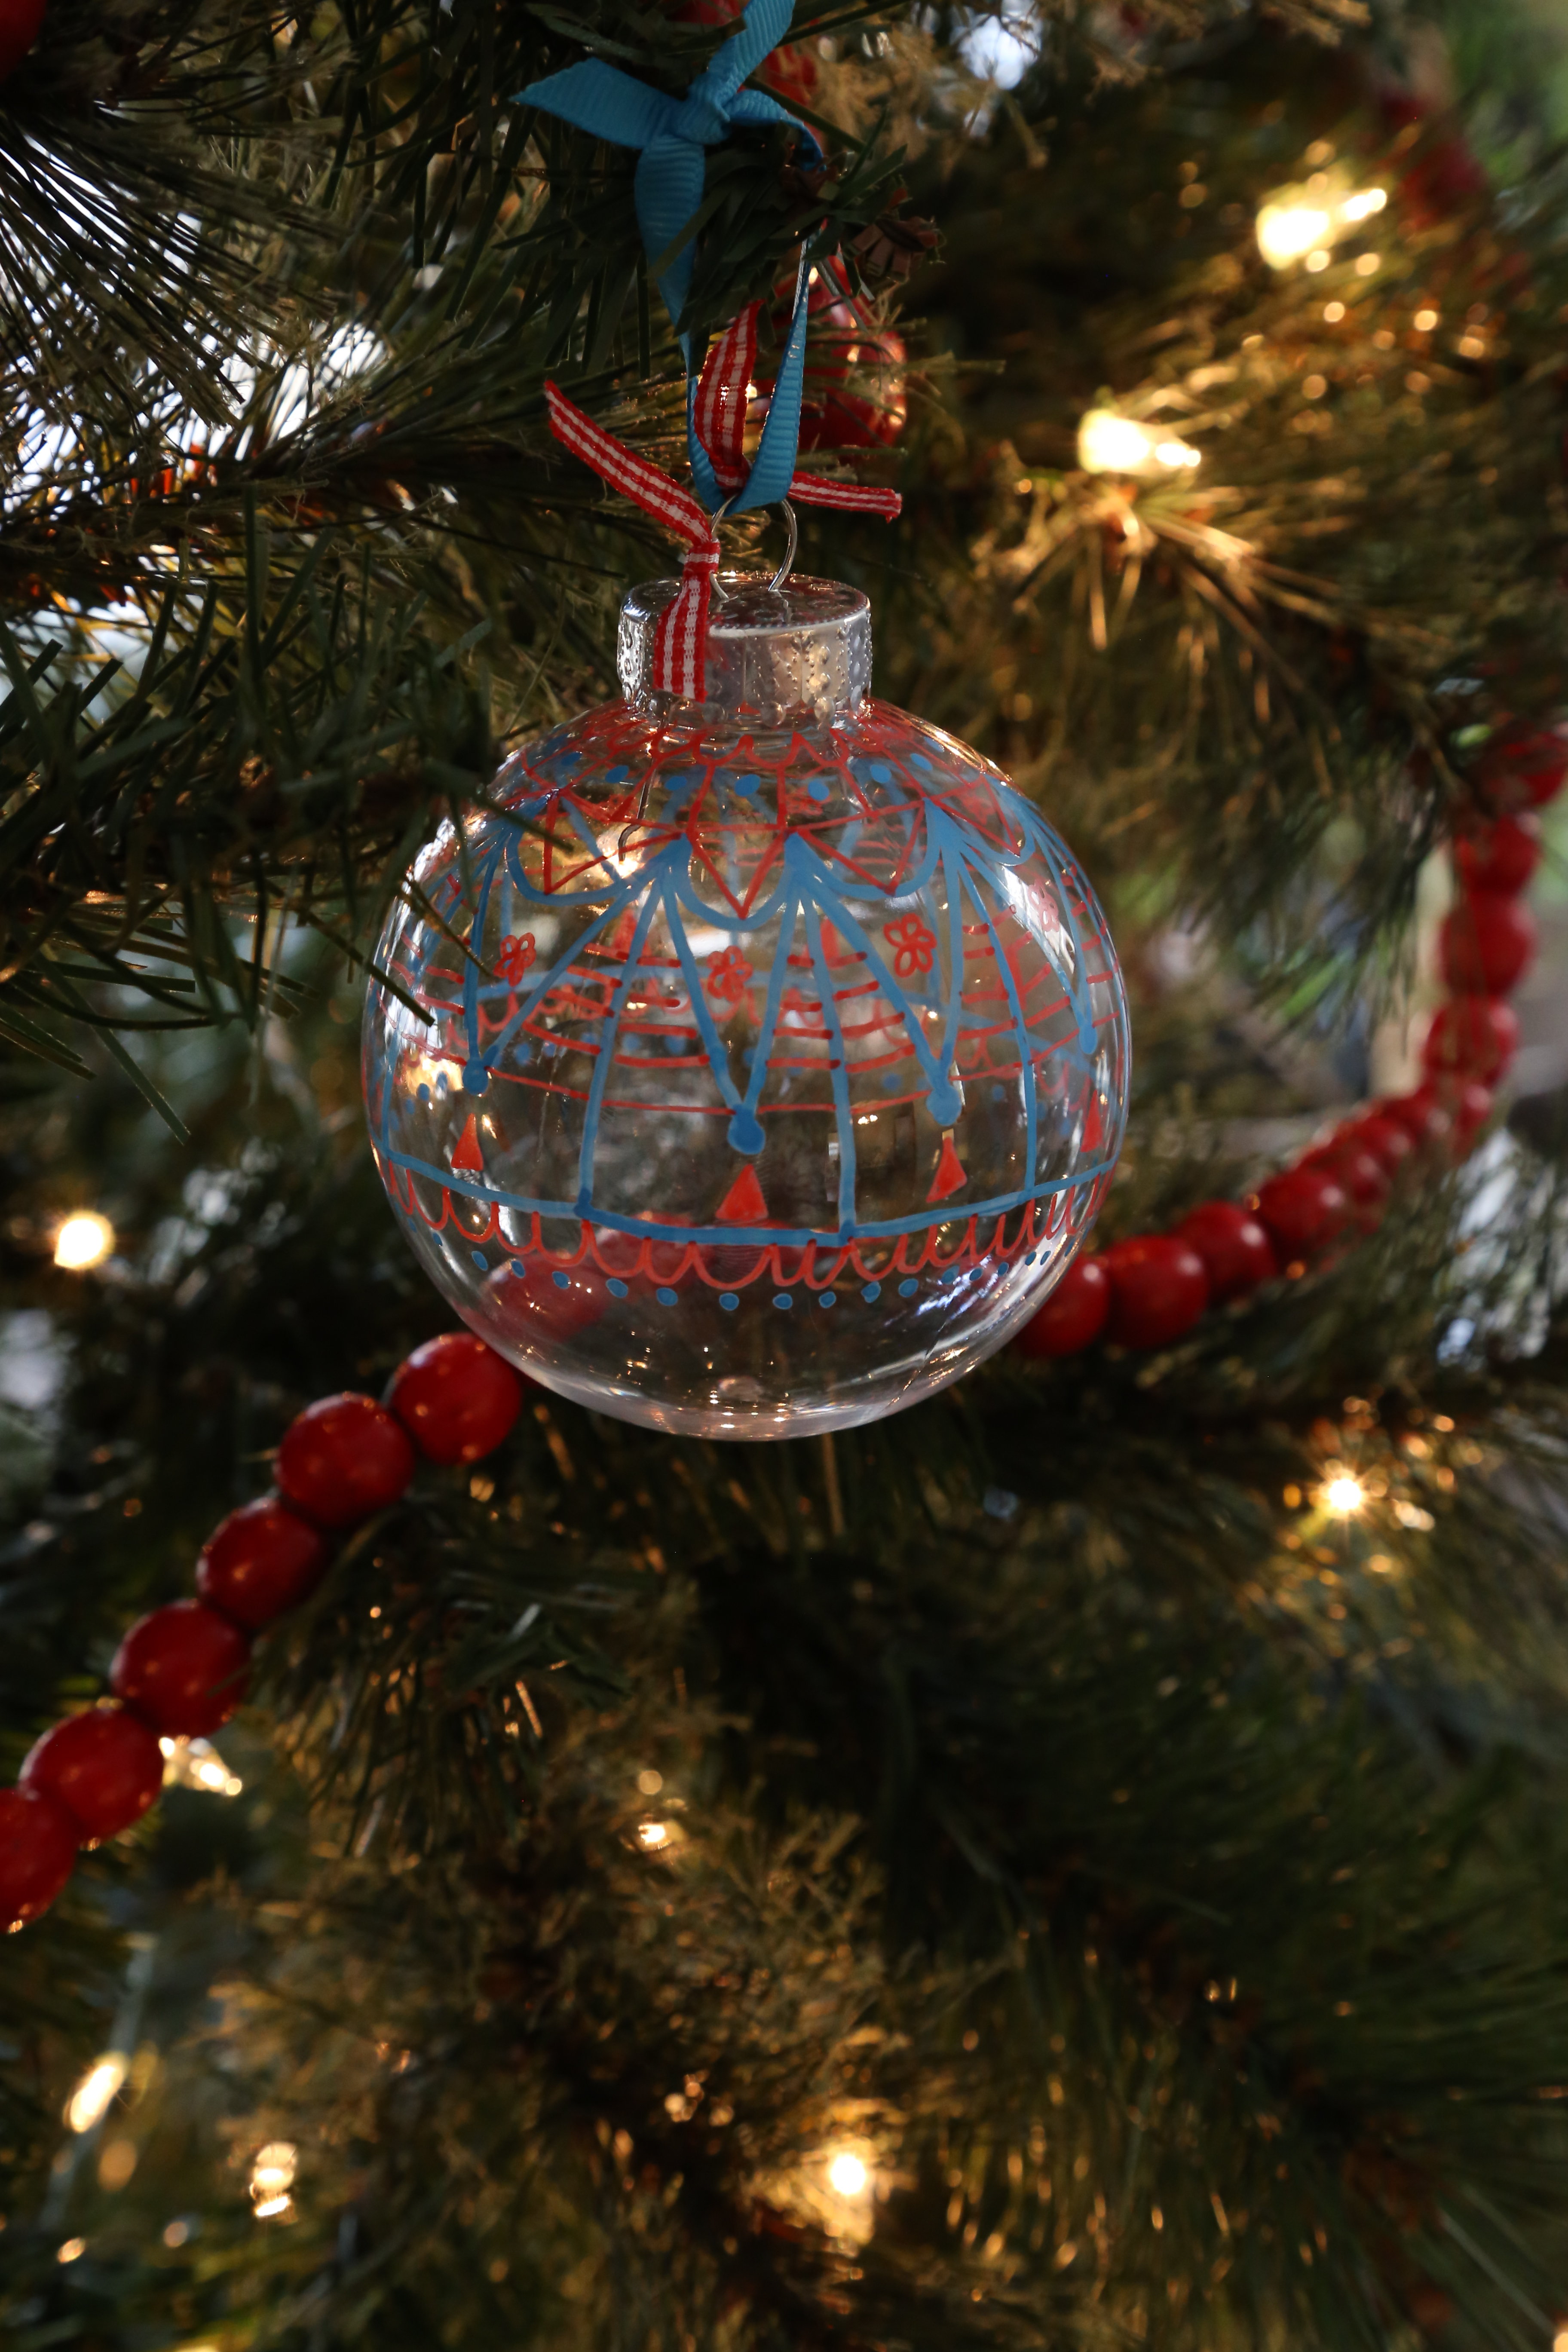
Get creative this Christmas with a fun DIY doodle ornament! If you’re a chronic doodler, like me, this is just another way to unleash your creative side and end up with a cute DIY Christmas ornament while you’re at it. Handmade Christmas ornaments should represent your personality and style, otherwise, why make them? This DIY doodle ornament is great at that. You get to design a special handmade ornament that will be passed down through the years!

This is also a great family or classroom project. Kids crafts that double as Christmas decor are my favorite thing. Since the ornaments are plastic they are less likely to break if dropped by little hands. This kids craft gives young people an opportunity to showcase their art skills in a way that lots of people can admire them and they give adults a fun, relaxing way to spend a cold afternoon. Bonus, you can even do this while binge watching Netflix!
DIY Doodle Ornament
Supplies
- Plastic ornament
- DecoColor Paint Markers
- Ribbon, optional
Instructions
- Choose two coordinating DecoColor Paint Markers.
- Remove the topper from the ornament.
- Starting at the top of the ornament, start doodling your design using the DecoColor Paint Markers you chose.
- While filling in your design, it is best to start with more open areas and add details later.
- Between the layers, allow to dry or dry faster using a low temperature on your hair dryer.
- When your design is completed, add ribbon and hang.
Paint markers are best for this project since they give you a lot of control in what you’re doodling, but acrylic paint and tiny paintbrushes would work too. It all depends on your preference. The end result will be the same: a beautiful, creative DIY ornament shining on your tree!
Did you make one? Two? Twelve? We want to see! Share a picture on our Facebook page or tag us on Instagram.


